smorgasbord
Well-Known Member
- Region
- USA
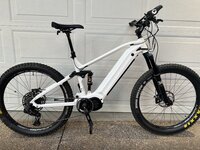
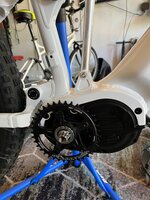
If you're starting out to tune, or re-tune, your Bafang Ultra G620/M510 motor, you've come to the right place. There's a lot to setting up an Ultra to ride the way you want, but if you take it a step at a time it won't be as daunting. You don't have to do them all at once - I actually recommend against that.
I've created a series of threads covering the different aspects of Ultra tuning - this thread lists them all. I recommend going in this order and doing test rides after each:
EDIT: I decided to create a thread documenting where prior Bafang Ultra tuning guides have gone wrong:

 forums.electricbikereview.com
EDIT: Added a "Quick Start" post for those who don't want to devote of time/energy into the tuning process.
I've created a series of threads covering the different aspects of Ultra tuning - this thread lists them all. I recommend going in this order and doing test rides after each:
- First, set up the Basic tab:
Ultra Tuning: Setting up PAS levels in the Basic Tab
While most of the discussion of Bafang Ultra motor's settings revolves around the somewhat cryptic Torque Tab, the Basic Tab, on which you set up your PAS level behavior, is the simplest yet most important tab to setup. I think every Ultra rider should setup the Basic Tab, as no OEM does it...
forums.electricbikereview.com
- Next, set up the Pedal tab:
Ultra Tuning: Decoding the Pedal Assist Tab
I was re-reading the available Bafang Ultra tuning guides/suggestions to see what they said about the Pedal Assist tab, which looks like this in the Windows Application: As I have posted before, most of these parameters seemed like they were left over from the legacy cadence-only-sensing...
forums.electricbikereview.com
- Now, set up the often-overlooked Delta Voltage Table in the Torque Tab:
- Finally, set up the important Spd Table in the Torque Tab:
EDIT: I decided to create a thread documenting where prior Bafang Ultra tuning guides have gone wrong:
Ultra Tuning: Where other guides go wrong
For the past few weeks I've been on a mission to finally get our Bafang Ultra motors (UART) tuned. I've learned a lot along the way, thanks to some posters here and to some reverse engineering. There have been several guides posted on the interwebs (old joke, sorry), which surprisingly have...
forums.electricbikereview.com
EDIT: Added a "Quick Start" post for those who don't want to devote of time/energy into the tuning process.
Last edited: