LawrenceEaden
New Member
Hi All.
I'm a little way into my build now and I thought I would share my experiences. My main goal for the project is to build an eBike that doesn't look like one. I recently got a single gear bike to try because i like the aesthetic and simplicity. A bike like this has a compromise with the gearing though, you can choose to make it easy to take off at the lights and get up hills, or have a good top speed.
This lead to my eBike project, could i gear the bike for a good top speed pedalling, then have electric assist for hills and getting off the line.
The Bike
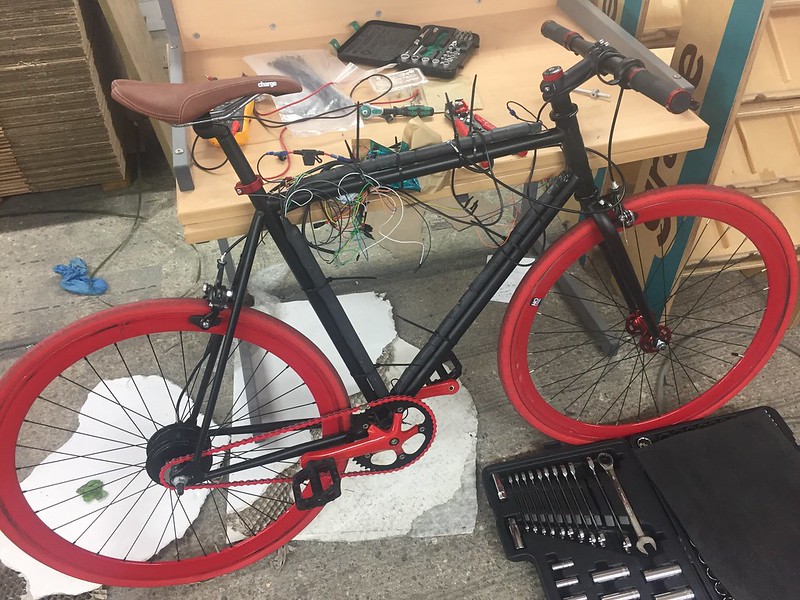
This is the bike I'm starting with from Hackney Cycles, London. (£160)
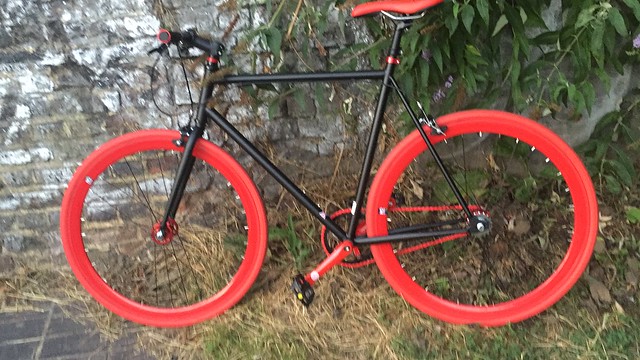
All the components feel extremely cheap but considering what i had planned for it I wanted to keep the risk capital low and I can always upgrade components later.
The Battery
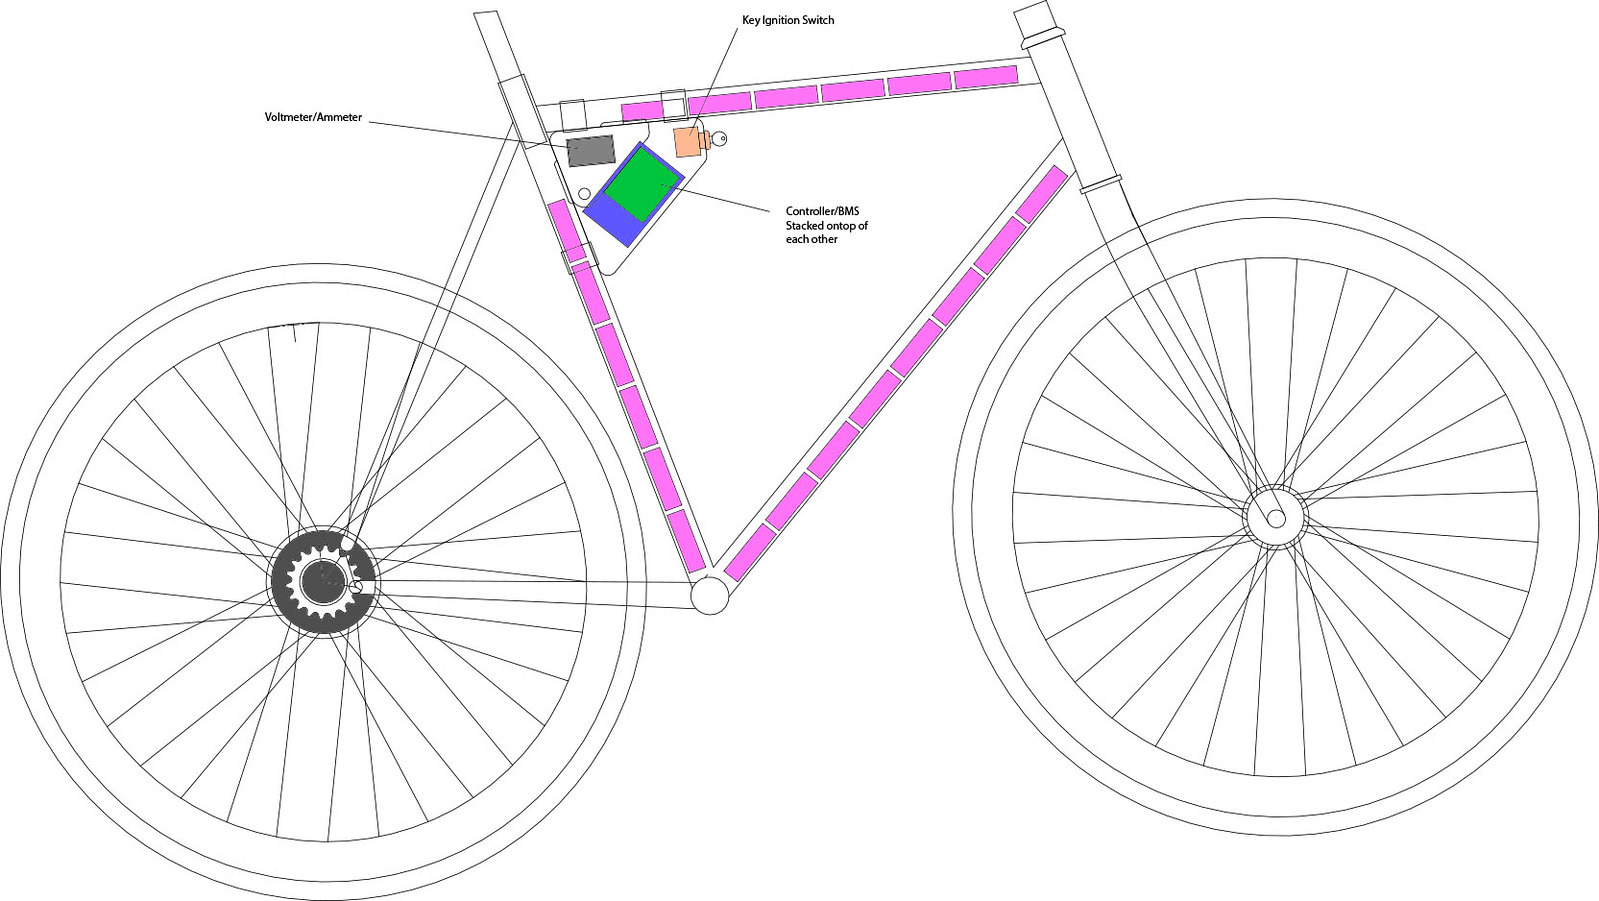
This is where it starts to get a bit tricky. I don't want a visible battery on the frame, so i had the idea of putting the battery IN the frame using 18560 cells. I could only fit 20 cells in the frame (top tube 6, seat tube 6, bottom tube 8). This would let me do a 36v (10s,2p) battery. So I did some maths.

Cells Used - Samsung ICR18650-26F (£3.95 each)
(Link Removed - No Longer Exists)
Weight
20 x 45g = 900g
Voltage
3.7 x 10 = 37V
Capacity
2.6Ah x 2 = 5.2Ah
Max Current Draw
5.2A x 2 = 10.4A
Max Power
37 x 10.4 = Approx 350w
WattHours
37V x 5.2Ah = 192.4Wh
I was then trying to work out what range this would give me i found lots of different estimations of how many WattHours per Mile you use, between 5 and 20. So I took the top estimate to be conservative.
Range
192.4Wh / 20Wh/m = 9.62 Miles
For a first build I think this will be okay. My commute to work is 7 miles, so i can charge at both ends, and it's fine to get to the shops and back. I always have the option for longer journeys to add another battery in parallel in a rucksack.
10s is quite a common setup so findng a BMS PCB is very easy. I will add the balancing wires when I build my pack.
The Motor
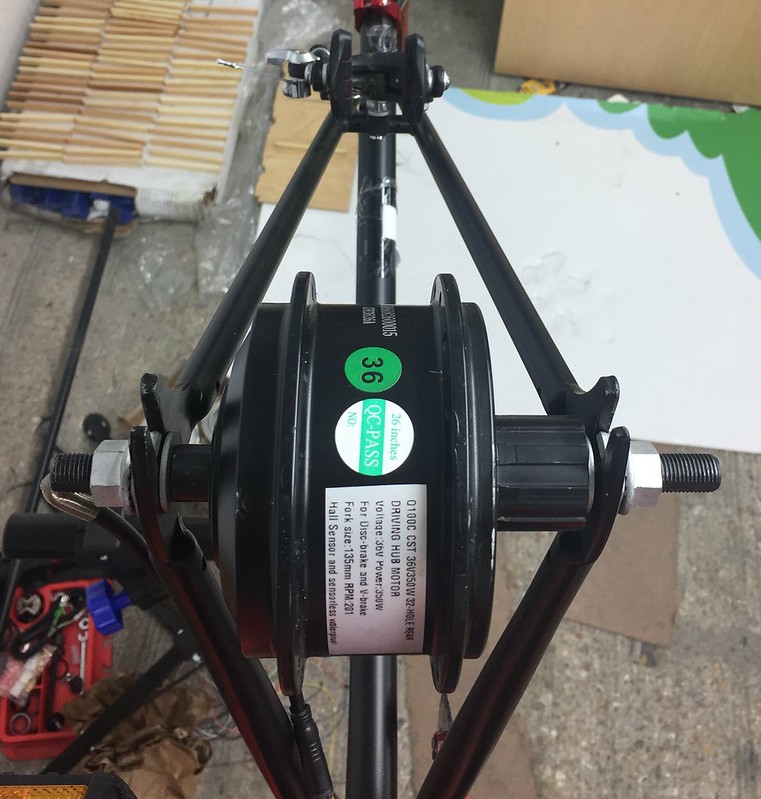
The maximum power my internal battery could provide is 350w so that's a good start for my motor spec. I wanted to keep the rim that came with the bike for the oem look. The rim has 32 spokes, most hub motors are made for mountain bikes which have 36 spokes, and 135mm drop outs.
(Link Removed - No Longer Exists)
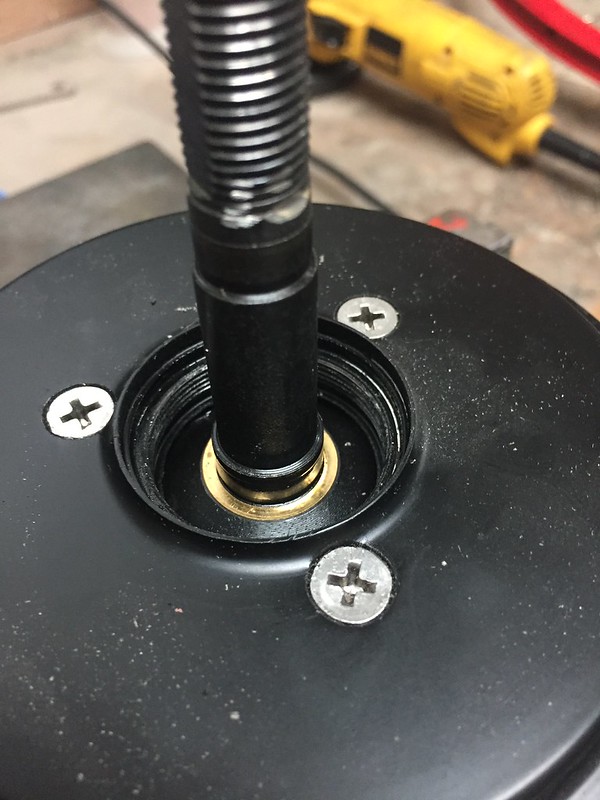
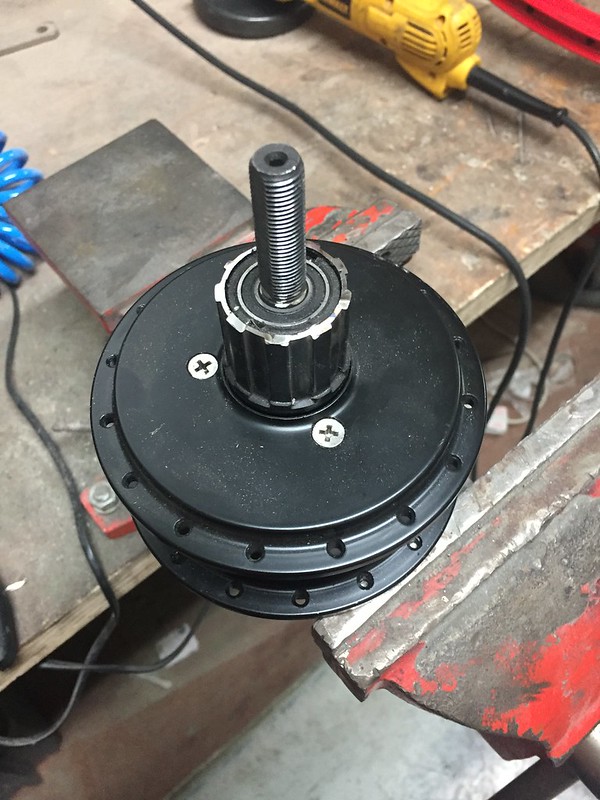
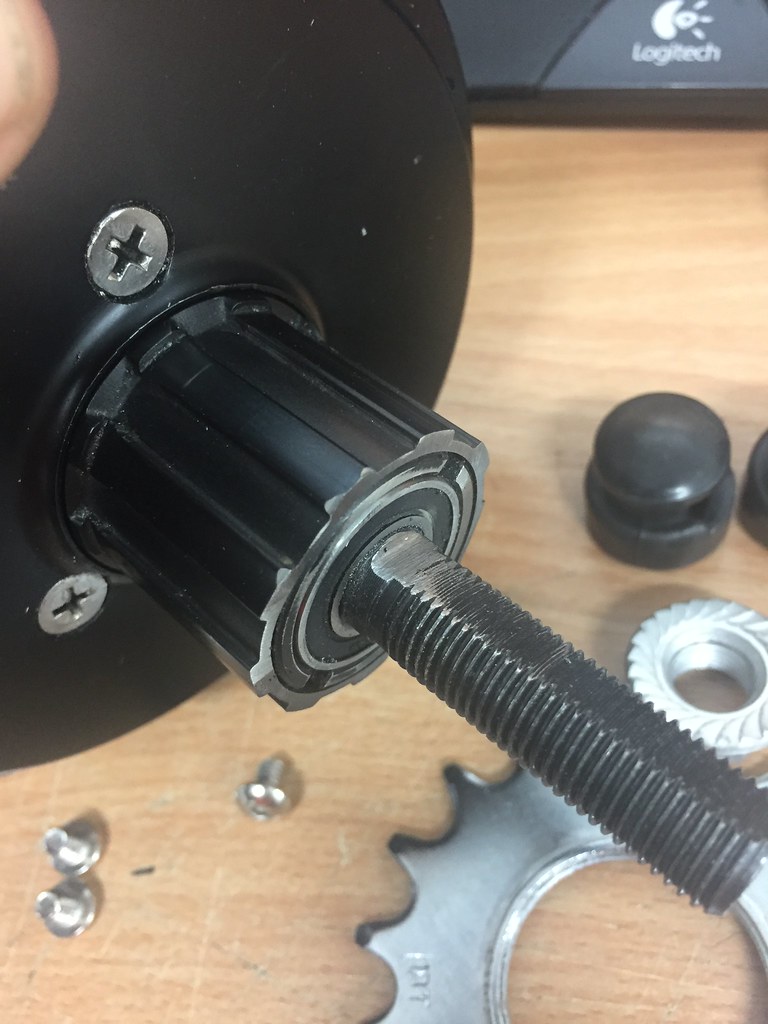
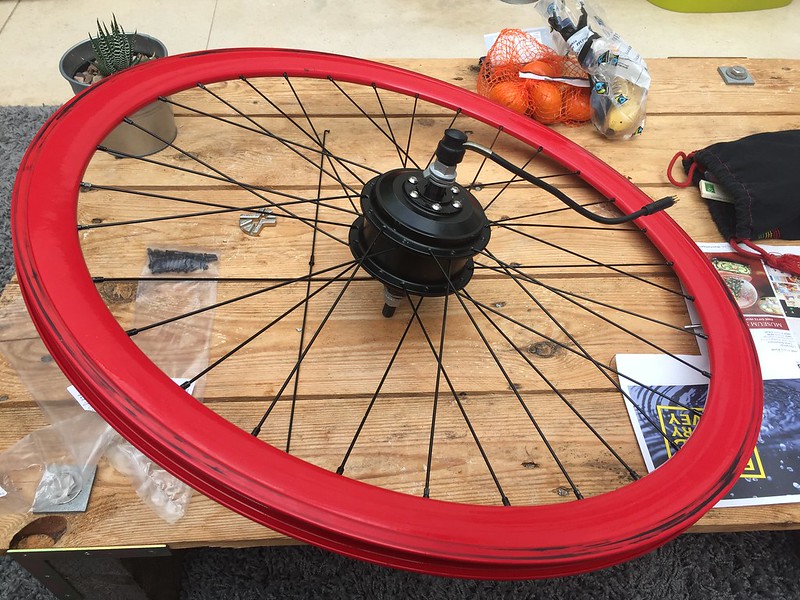
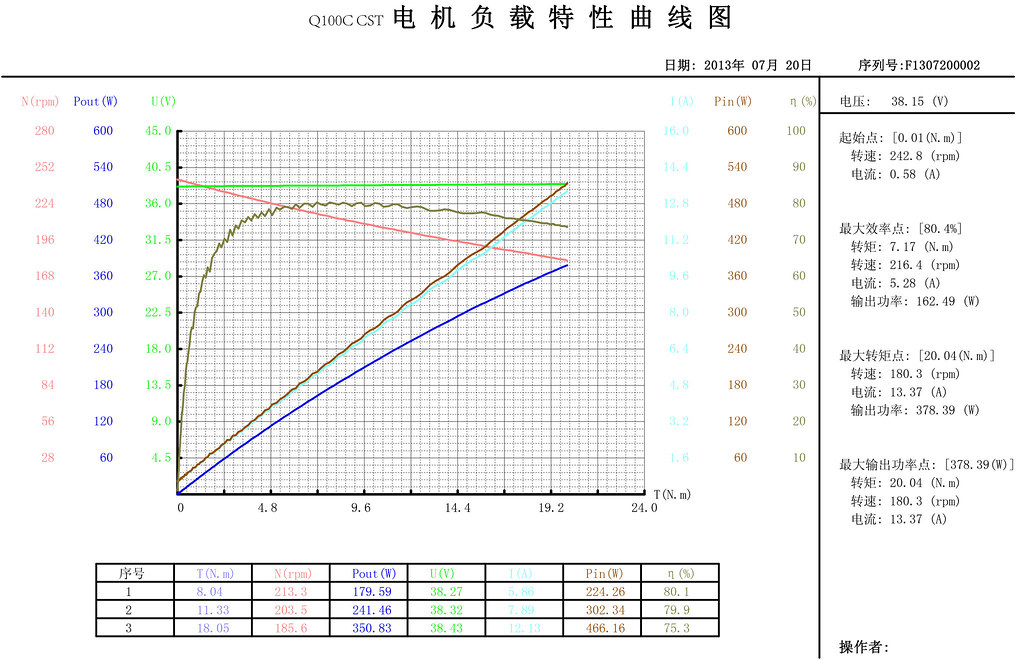
The options were very limited so I went for the Q100C CST 36V350W (£117.88 inc shipping)
https://bmsbattery.com/ebike-kit/65...driving-hub-motor-ebike-kit.html#/213-rpm-201
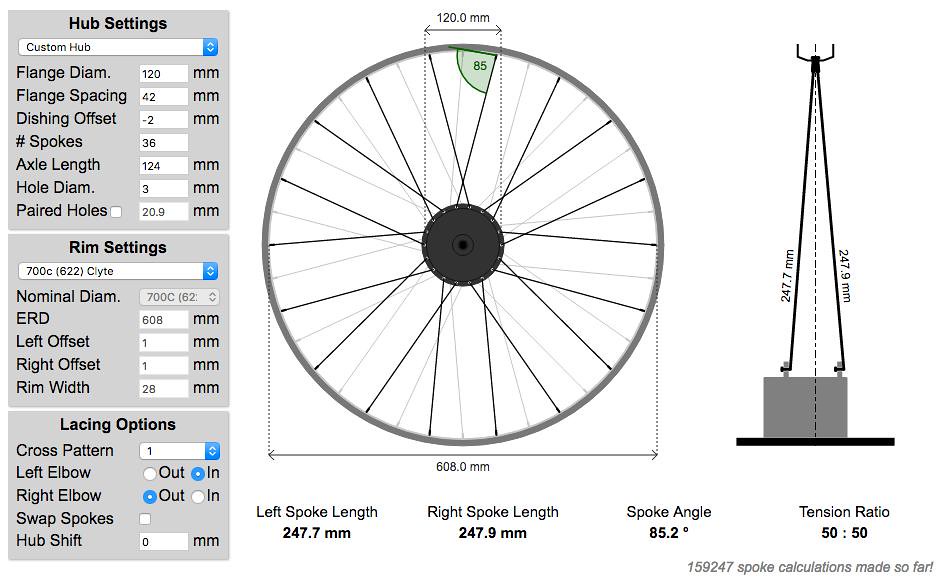
I am waiting for this to arrive. but I have tried to work out the spoke configuration using a great online calculator here. http://www.ebikes.ca/tools/spoke-calc.html
The Controller
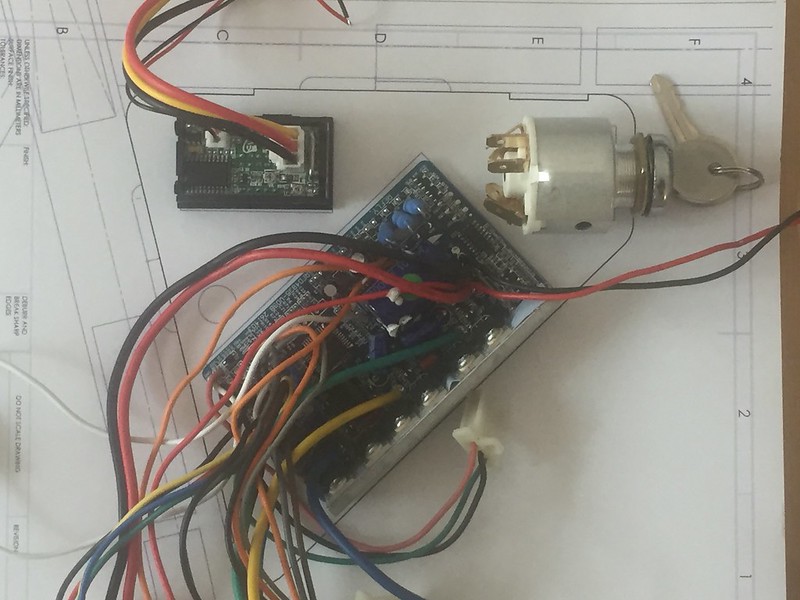
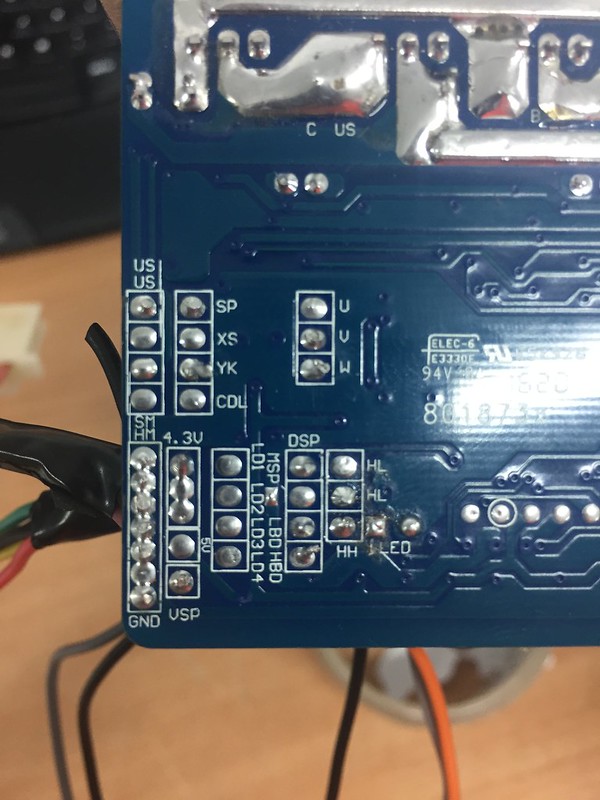
I have done a few home automation projects before using raspberry pis and arduinos so I would like to go down this route eventually to add my own features like gps and data logging. There are so many cheap controllers around though I wanted to get one to reverse engineer the circuit and use it to get the bike going.

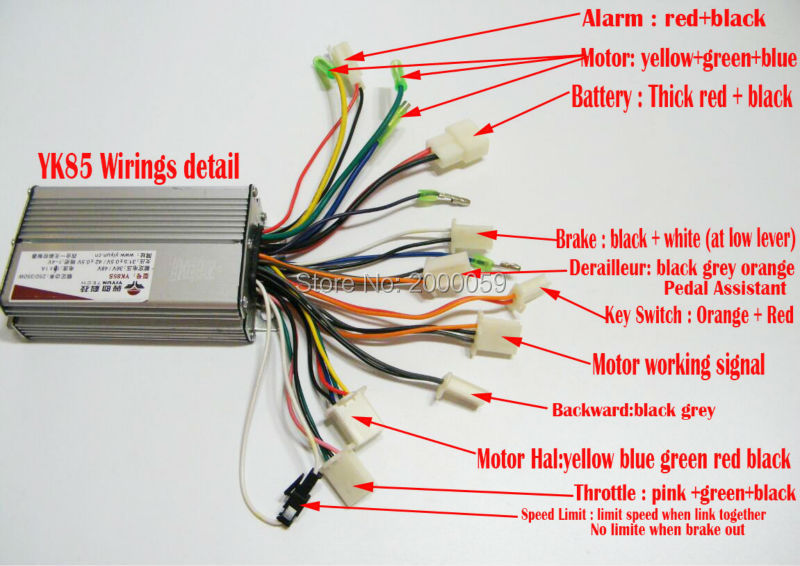
I went for this one on amazon (£15)
https://www.amazon.co.uk/dp/B00EB84L70
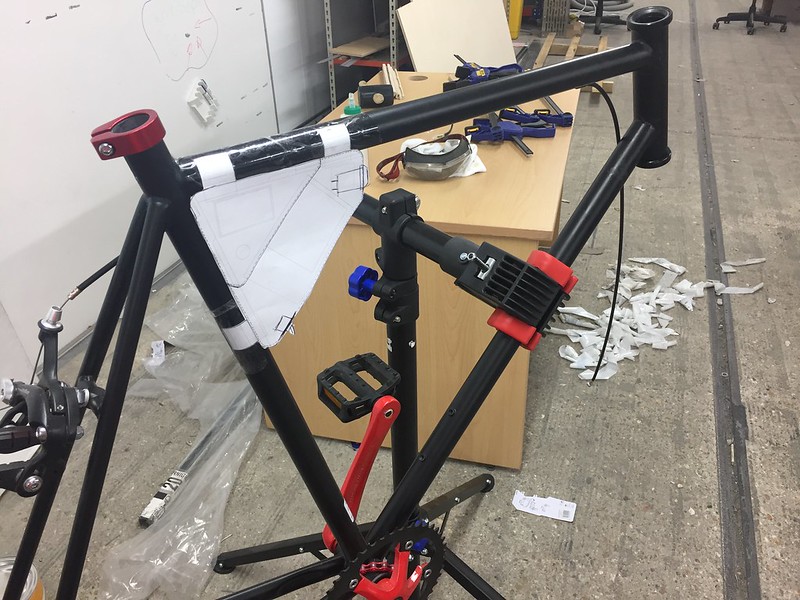
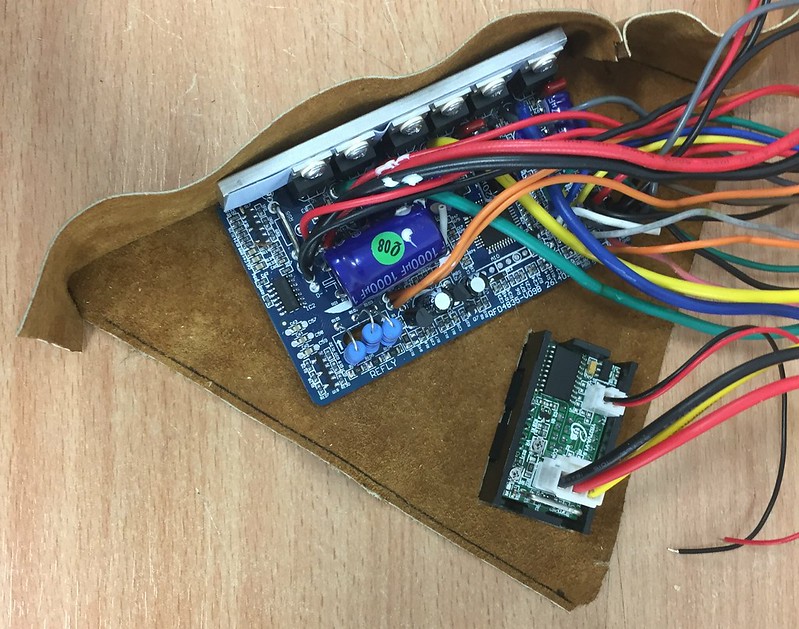
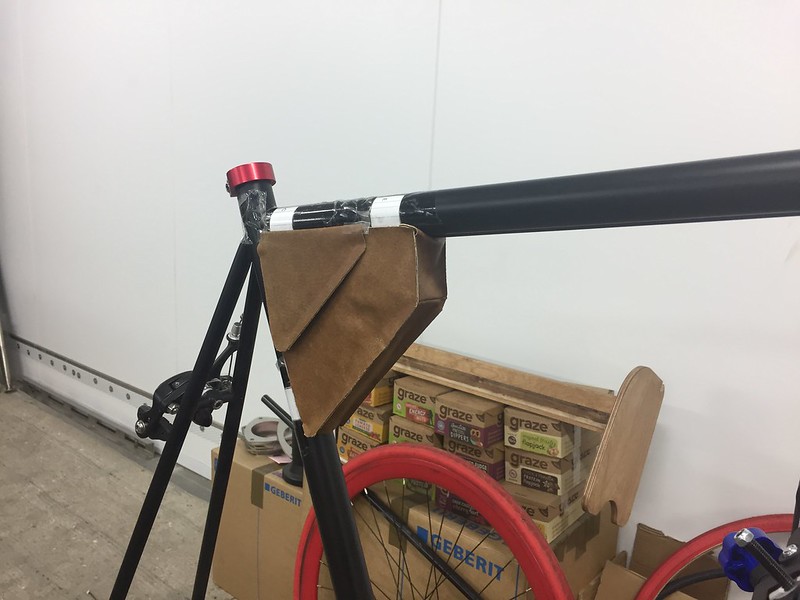
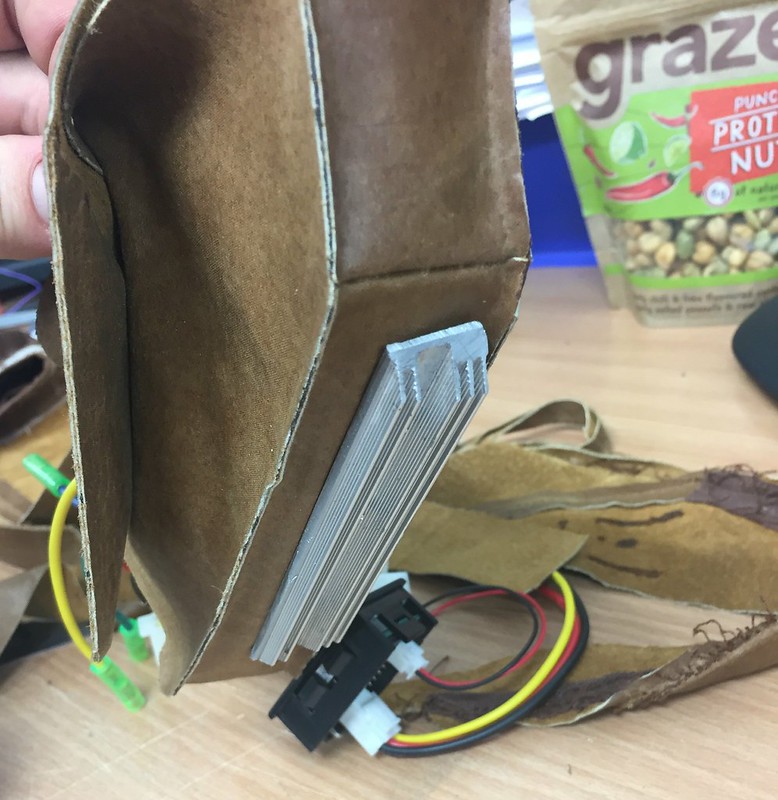
I'm still not sure where to package this on the bike. I have seen you can get nice leather frame bags for tool kits. This could work well because it butts up to the frame so wires can go between them discretely and it's something seen on non electric bikes.
Power Control
For simplicity to start the power will be completely controlled by a thumb throttle.

I found an inconspicuous one on ebay. (£8.99)
(Link Removed - No Longer Exists)
Final Specs
Voltage
36v
Power
350w
Range
9.5 Miles
Weight
Motor = 2.1kg
Battery = 0.9kg
Controller + Wiring + BMS = 0.8kg approx
Total = 3.8kg
Battery Build
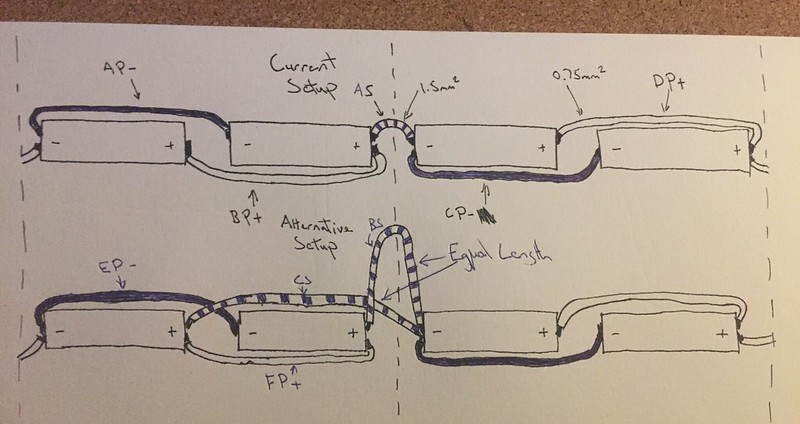
Finally I get to start making things! I have seen a lot of people build battery packs spot welding nickel strips to the cells, but because mine has to take on the form of a tube, i thought that soldering wires should be okay. I used 0.75mm2 wire for the parallel connections and 1.5mm2 for the series ones. The balance wires are rated to 2 amps, i only expect to charge at 1amp.

To fit in the tubes I am building 3 packs which will be joined in series.
Top Tube - 3s,2p
Seat Tube - 3s,2p
Bottom Tube - 4s,2p
I started by making the 10 parallel pairs

Then linked 3 pairs together to make by first pack, and added wires for the balance charging. I tried to keep a 5mm gap between all the cells, and insulated all the ends with electrical tape to stop any shorts.
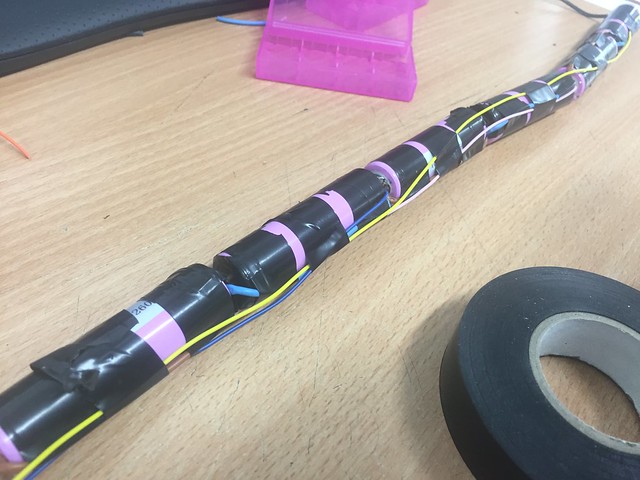
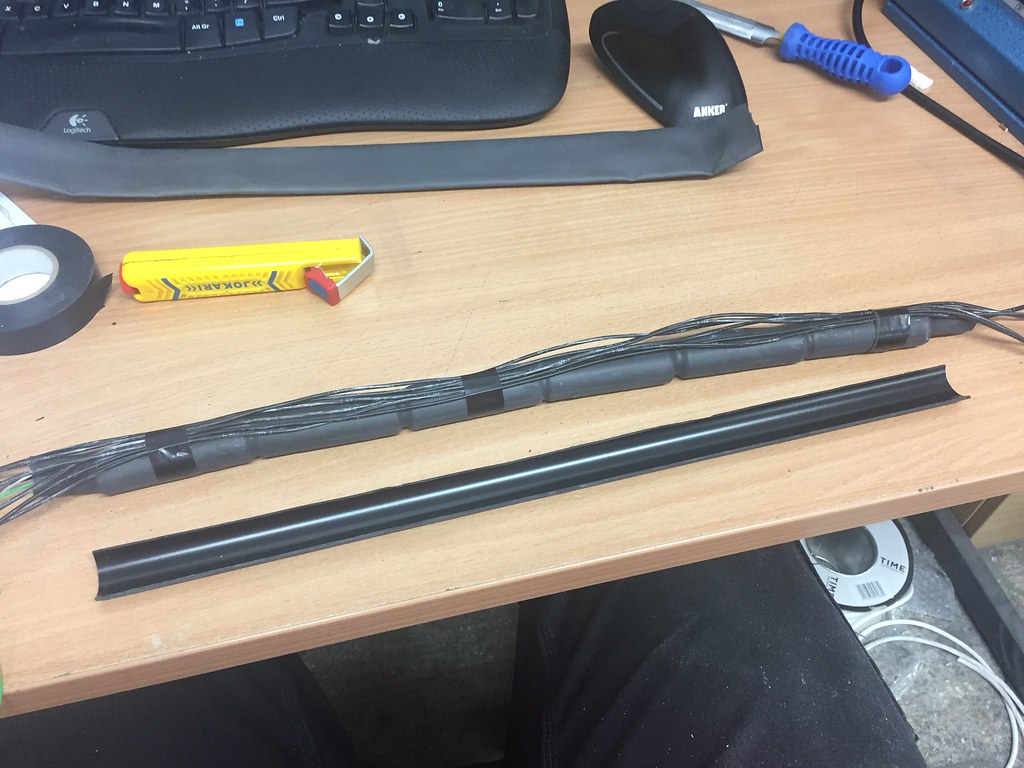
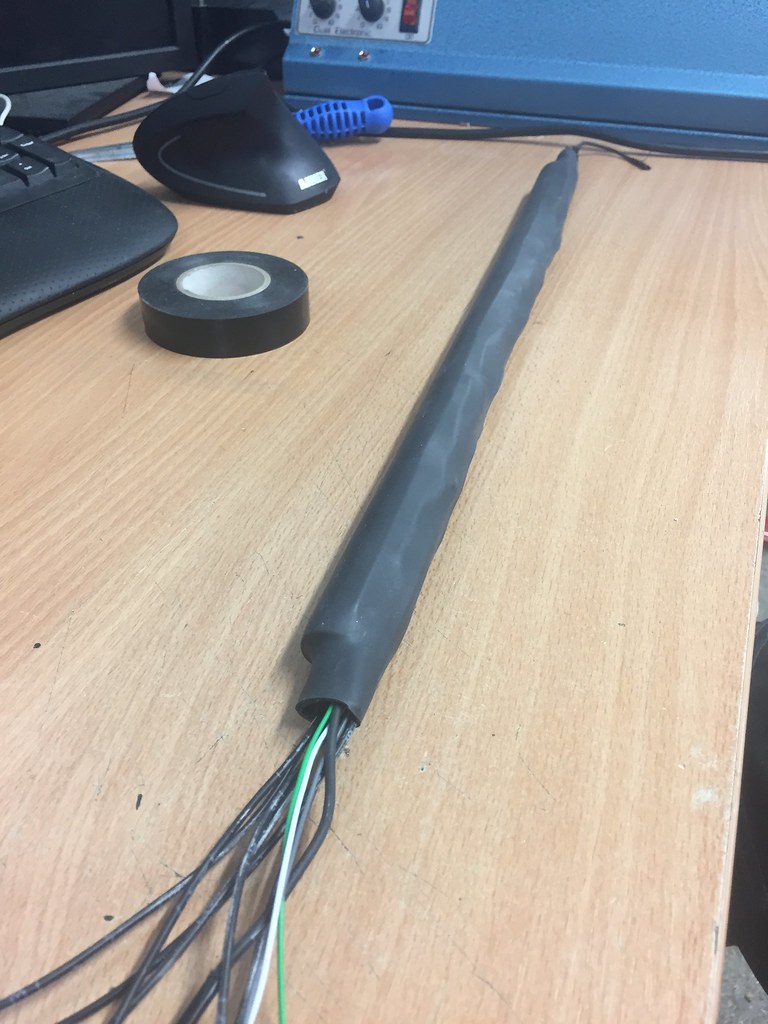
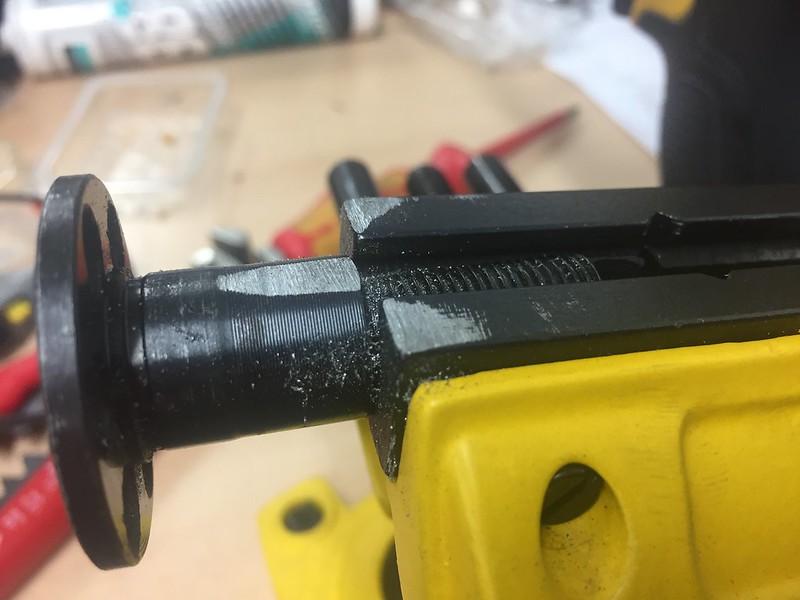
Once it was done i put heat shrink on it for a little rigidity and insulation. Two finished with ample wire at each end to route in the frame and add connectors.

This is as far as I'm up to with the battery. I have ordered more cells to finish the final pack. I am concerned about my soldering cracking after some time, so I think I will get some 20mm ID tube cut it into quarters down its length and heat shrink it to the packs for extra rigidity.
Frame Modifications
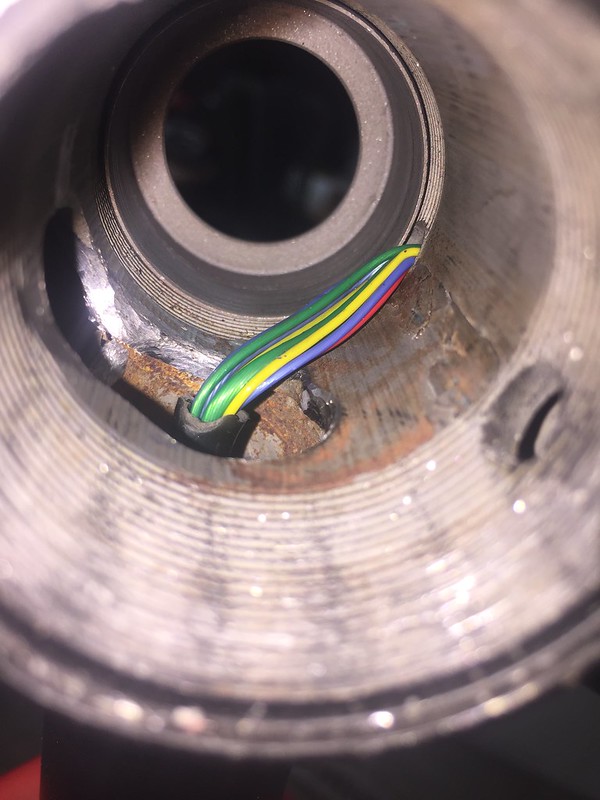
Okay so you may be wondering how i'm going to get these battery packs in the frame? I had a couple of options. The seat tube is easy, you can slide it right in but i can't get to the top or bottom tubes without drilling somewhere. a scary thought! I originally considered the bottom bracket after reading how over-engineered they usually are. but to get the right angle of hole i would come in contact with some welds for the drop out arms. So! Both holes could go through the head tube. I found some cool looking FEA for a bike frame and it looked like very little force went through the front face of the head tube.

Drilling a 15degree and 30degree 25mm hole in the centre of a tube freestyle didn't sound appealing at first, I designed some sheet metal jigs that would give me the angle and position i wanted. But with a 10 day lead time and extra cost I scrapped that and made paper templates i could stick to the tube and drill up to the line.
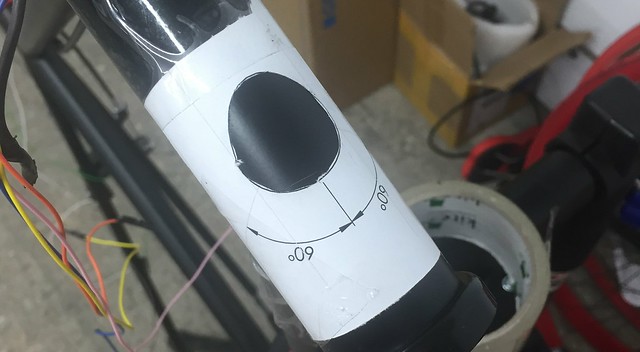
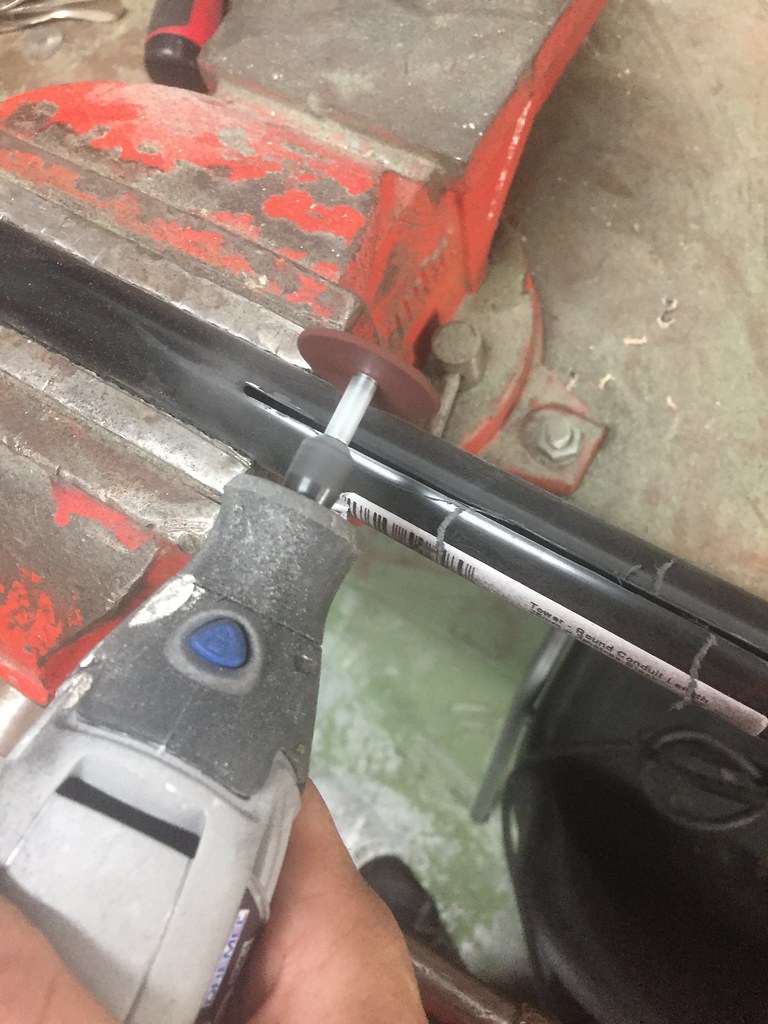
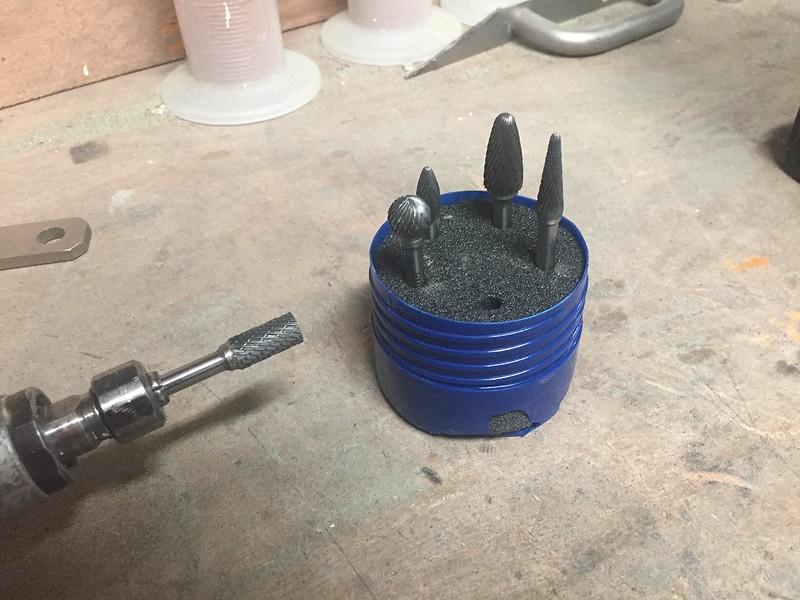
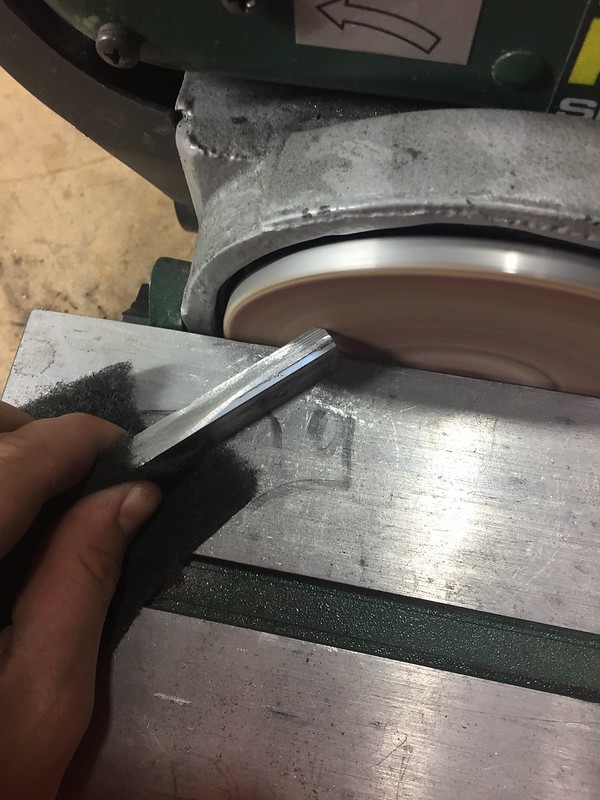
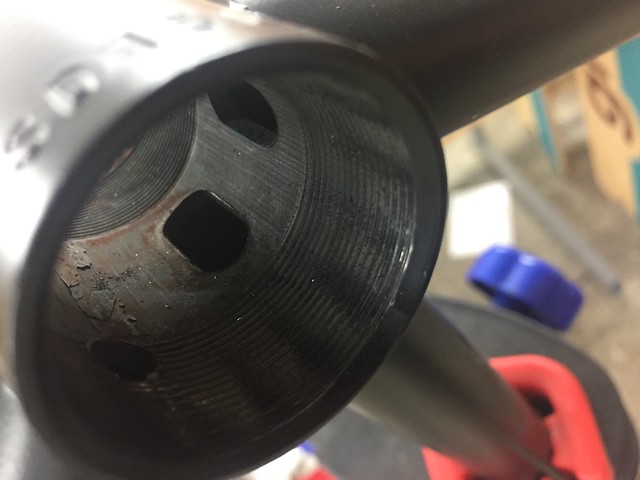
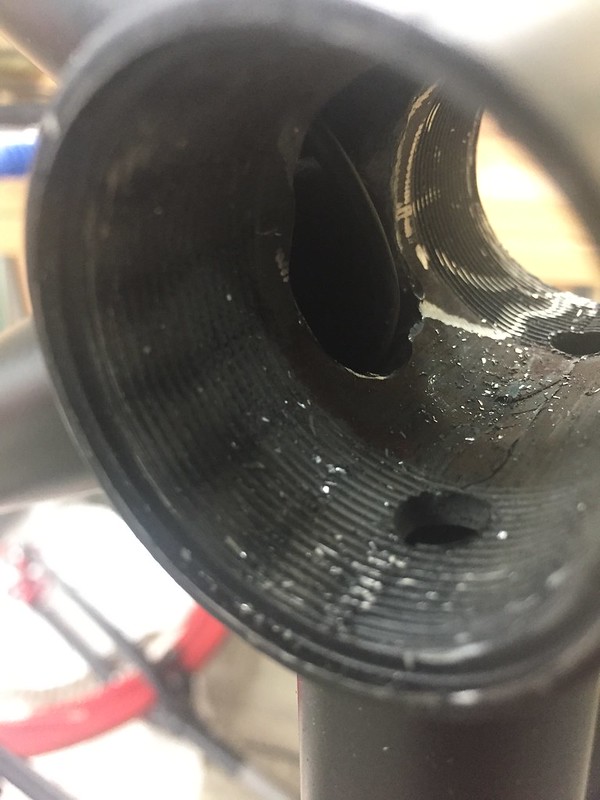
I got the angle grinder out to try and make a flat surface on the tube perpendicular to the tube the battery was going in. then centre punched and drilled a 5mm hole. I widened this with a stepper drill bit. finishing off with a die grinder to get the right profile.

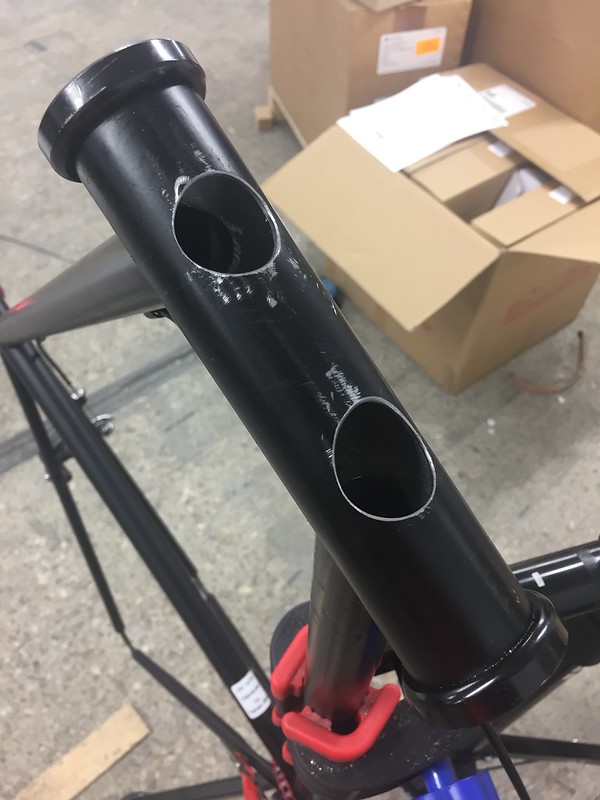
I've only done one of the holes so far, but i'm pretty happy with the result! I removed the smallest amount of material to get the holes lines up to get the pack in the tube. I haven't done much modification work like this before, so i'm still learning the best ways to do things like this.
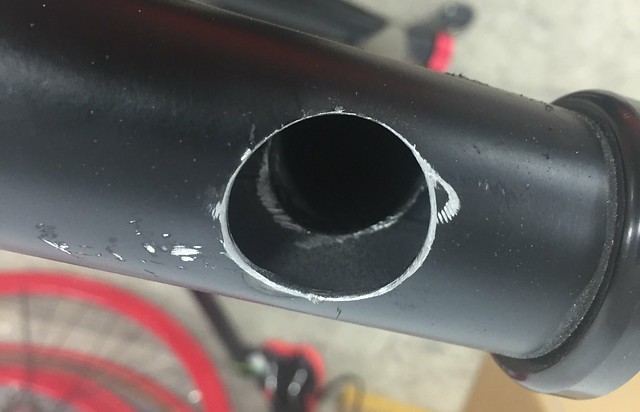
The pack fits! I haven't been able to find anywhere online someone making a DIY eBike like this so I'm going a little blind, but that makes it more fun as well! I will be left with two holes once i'm done, this could be perfect for designing a little custom front light and horn?
What's Next?
There's still a lot to do on this project, but as it's getting dark earlier now I have more motivation to stay after work and crack on with it. My list at the moment is
Bottom tube battery pack
Final wiring diagram
controller/bms packaging design
hub motor lacing to the hub when it arrives
Any comments, especially if you've seen any huge errors!, would be appreciated.
Thanks,
Lawrence.
I'm a little way into my build now and I thought I would share my experiences. My main goal for the project is to build an eBike that doesn't look like one. I recently got a single gear bike to try because i like the aesthetic and simplicity. A bike like this has a compromise with the gearing though, you can choose to make it easy to take off at the lights and get up hills, or have a good top speed.
This lead to my eBike project, could i gear the bike for a good top speed pedalling, then have electric assist for hills and getting off the line.
The Bike
This is the bike I'm starting with from Hackney Cycles, London. (£160)

All the components feel extremely cheap but considering what i had planned for it I wanted to keep the risk capital low and I can always upgrade components later.
The Battery
This is where it starts to get a bit tricky. I don't want a visible battery on the frame, so i had the idea of putting the battery IN the frame using 18560 cells. I could only fit 20 cells in the frame (top tube 6, seat tube 6, bottom tube 8). This would let me do a 36v (10s,2p) battery. So I did some maths.

Cells Used - Samsung ICR18650-26F (£3.95 each)
(Link Removed - No Longer Exists)
Weight
20 x 45g = 900g
Voltage
3.7 x 10 = 37V
Capacity
2.6Ah x 2 = 5.2Ah
Max Current Draw
5.2A x 2 = 10.4A
Max Power
37 x 10.4 = Approx 350w
WattHours
37V x 5.2Ah = 192.4Wh
I was then trying to work out what range this would give me i found lots of different estimations of how many WattHours per Mile you use, between 5 and 20. So I took the top estimate to be conservative.
Range
192.4Wh / 20Wh/m = 9.62 Miles
For a first build I think this will be okay. My commute to work is 7 miles, so i can charge at both ends, and it's fine to get to the shops and back. I always have the option for longer journeys to add another battery in parallel in a rucksack.
10s is quite a common setup so findng a BMS PCB is very easy. I will add the balancing wires when I build my pack.
The Motor
The maximum power my internal battery could provide is 350w so that's a good start for my motor spec. I wanted to keep the rim that came with the bike for the oem look. The rim has 32 spokes, most hub motors are made for mountain bikes which have 36 spokes, and 135mm drop outs.
(Link Removed - No Longer Exists)
The options were very limited so I went for the Q100C CST 36V350W (£117.88 inc shipping)
https://bmsbattery.com/ebike-kit/65...driving-hub-motor-ebike-kit.html#/213-rpm-201
I am waiting for this to arrive. but I have tried to work out the spoke configuration using a great online calculator here. http://www.ebikes.ca/tools/spoke-calc.html
The Controller
I have done a few home automation projects before using raspberry pis and arduinos so I would like to go down this route eventually to add my own features like gps and data logging. There are so many cheap controllers around though I wanted to get one to reverse engineer the circuit and use it to get the bike going.

I went for this one on amazon (£15)
https://www.amazon.co.uk/dp/B00EB84L70
I'm still not sure where to package this on the bike. I have seen you can get nice leather frame bags for tool kits. This could work well because it butts up to the frame so wires can go between them discretely and it's something seen on non electric bikes.
Power Control
For simplicity to start the power will be completely controlled by a thumb throttle.

I found an inconspicuous one on ebay. (£8.99)
(Link Removed - No Longer Exists)
Final Specs
Voltage
36v
Power
350w
Range
9.5 Miles
Weight
Motor = 2.1kg
Battery = 0.9kg
Controller + Wiring + BMS = 0.8kg approx
Total = 3.8kg
Battery Build
Finally I get to start making things! I have seen a lot of people build battery packs spot welding nickel strips to the cells, but because mine has to take on the form of a tube, i thought that soldering wires should be okay. I used 0.75mm2 wire for the parallel connections and 1.5mm2 for the series ones. The balance wires are rated to 2 amps, i only expect to charge at 1amp.

To fit in the tubes I am building 3 packs which will be joined in series.
Top Tube - 3s,2p
Seat Tube - 3s,2p
Bottom Tube - 4s,2p
I started by making the 10 parallel pairs

Then linked 3 pairs together to make by first pack, and added wires for the balance charging. I tried to keep a 5mm gap between all the cells, and insulated all the ends with electrical tape to stop any shorts.

Once it was done i put heat shrink on it for a little rigidity and insulation. Two finished with ample wire at each end to route in the frame and add connectors.

This is as far as I'm up to with the battery. I have ordered more cells to finish the final pack. I am concerned about my soldering cracking after some time, so I think I will get some 20mm ID tube cut it into quarters down its length and heat shrink it to the packs for extra rigidity.
Frame Modifications
Okay so you may be wondering how i'm going to get these battery packs in the frame? I had a couple of options. The seat tube is easy, you can slide it right in but i can't get to the top or bottom tubes without drilling somewhere. a scary thought! I originally considered the bottom bracket after reading how over-engineered they usually are. but to get the right angle of hole i would come in contact with some welds for the drop out arms. So! Both holes could go through the head tube. I found some cool looking FEA for a bike frame and it looked like very little force went through the front face of the head tube.

Drilling a 15degree and 30degree 25mm hole in the centre of a tube freestyle didn't sound appealing at first, I designed some sheet metal jigs that would give me the angle and position i wanted. But with a 10 day lead time and extra cost I scrapped that and made paper templates i could stick to the tube and drill up to the line.

I got the angle grinder out to try and make a flat surface on the tube perpendicular to the tube the battery was going in. then centre punched and drilled a 5mm hole. I widened this with a stepper drill bit. finishing off with a die grinder to get the right profile.

I've only done one of the holes so far, but i'm pretty happy with the result! I removed the smallest amount of material to get the holes lines up to get the pack in the tube. I haven't done much modification work like this before, so i'm still learning the best ways to do things like this.

The pack fits! I haven't been able to find anywhere online someone making a DIY eBike like this so I'm going a little blind, but that makes it more fun as well! I will be left with two holes once i'm done, this could be perfect for designing a little custom front light and horn?
What's Next?
There's still a lot to do on this project, but as it's getting dark earlier now I have more motivation to stay after work and crack on with it. My list at the moment is
Bottom tube battery pack
Final wiring diagram
controller/bms packaging design
hub motor lacing to the hub when it arrives
Any comments, especially if you've seen any huge errors!, would be appreciated.
Thanks,
Lawrence.

