Fast n' Furious
Well-Known Member
- Region
- USA
- City
- San Diego
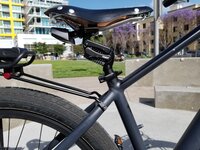
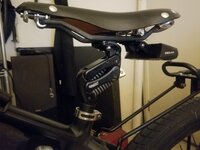
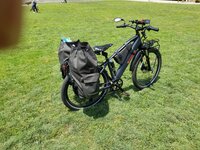
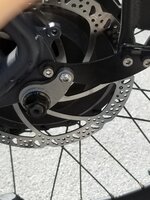
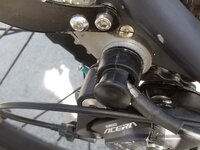
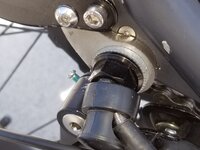
'Couple more photos of details.
Still no word from Grin on the controller.
Not sure on how much of a priority to you, but if I pull the lever and buy a Baserunner - nearly certain - I'll have to ferret out the wiring (see: 739). I can pass on the diagram and photos - after I know what works.
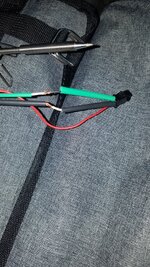
Installing the twist-throttle showed me "don't trust, just verify" and don't expect the colors don't match. The colors of the apparent shrink-fit are correct in that photo. The Black and the White wires were not. White became Green and Black became White.
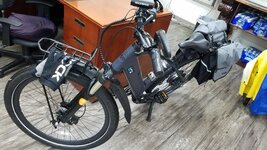
Mrs Dog is politely requesting a doggy-seat (406), is getting more aggressive, demanding to come along, every day (406).
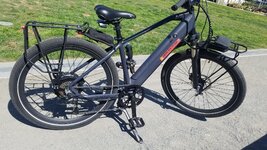
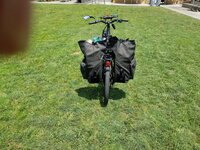
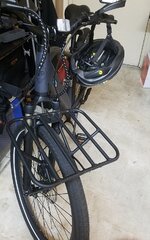
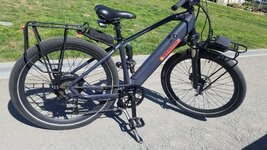
Not on that front Pizza Rack I had (See: 551). Bad Geometry, bike falls over (except w/ the URSUS stand). On the back should work though.
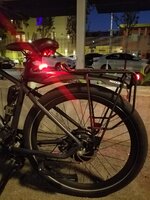
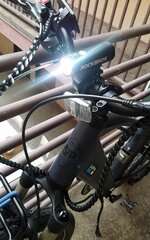
734. 'Rock'ing the daytime with the 20,000 Lumen, (11hrs @ 10k) headlamp (RockBros at AliExpress). Beware cars High-Beaming you.
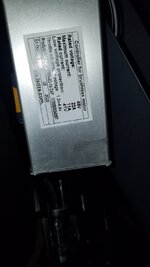
717. Here's your Controller. There's the full factory specs: 11Amps nominal (and more like, minus 20% = 8.8Amps) .
I guess R1U could offer an upgrade. Let's see; $180 - $220 to Grin; + deviation from assembly line costs (NO WAY Grin would license those Electronics to China); + North American installation; + testing AND +++ R1U could take on legal responsibility for unleashing the beast in that MXUS - well past Class 3 limits. Hmmmm, a bit more complicated than initially thought.
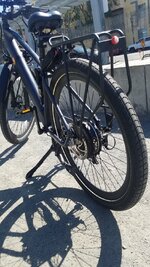
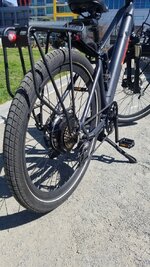
And then there's those aluminum dropouts. I suggest at the very least you dismantle and check what's going on down there.
Micrometer the flats on the steel axle. Are they really 14mm x 10mm ??? Any subtle damage ? No cracks? Great !!!
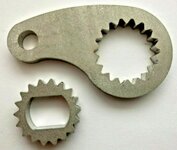
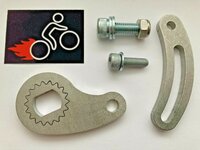
Install splined, 5mm torque arms (2 of them). Not Grin's 6mm type, which are too thick and you won't be able to fit washers.
When I make the small steel upper plates (I've described previously), I can supply a template for you and, if you don't have a rack, that piece will work perfectly for a bottom bracket as well. I may have a bunch laser cut if it's cheap enough. Pretty simple part that creates a monocoque frame box form.
I've contemplated using the other attachment on the lower frame. Too spindly and awkwardly situated on the linear plane. Too 'Rube Goldburg' for me. Spacers, half-size thick washers; the stress point 10mm from the fixed point = 10mm of "flex-arm" where I come from, means 10mm of leverage at the fixed insert point. That's the point of the sandwich concept. Force on a linear plane, unable to twist.
I'm also contemplating: Could that single 5mm plate be drilled to accurately match the hole on the dropout plate? Looks simple.
Sounds easy, but it'd have to have a lot of slop to set up. Those splines are laser cut. They have a zero-tolerance fit. Maybe the slop on that axle will then come in handy enough to effect a pre-loaded spot where the bolt would fit tightly?
Then consider this: If you mount any rear rack (with a torque arm like this) you'll likely have no choice but to go the same sandwich plate route. For me it was better to get the proper rack, drill it (took 10 minutes) and bolt up. Now I'll create a small top plate to bulletproof the assembly.
Sandwiching two 3mm drilled plates, w/ 5mm of spacer/ washers should work just as well without a rack - and preserve the option of mounting a rack at another time.
Regards, and always cavalgue como o vento !!!
Fn'F
Attachments
-
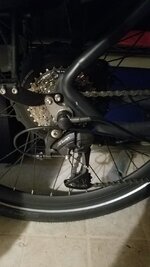 20210321_104201.jpg154.8 KB · Views: 498
 -
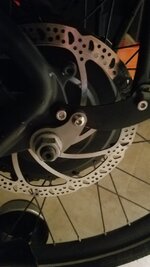 20210321_104218.jpg134.6 KB · Views: 473
 -
 1ring.jpg254.9 KB · Views: 504
 -
![20210316_184739[1].jpg](/data/attachments/82/82512-77101c4ffb7ad00d7bebec416ffa361e.jpg) 20210316_184739[1].jpg174.8 KB · Views: 475
20210316_184739[1].jpg174.8 KB · Views: 475 -
 20210317_145602.jpg582.2 KB · Views: 483
 -
 20210313_090406.jpg221.7 KB · Views: 484
 -
 20201228_160551.jpg292.8 KB · Views: 497
 -
 20210112_155734.jpg259.4 KB · Views: 523
 -
 20210226_121128.jpg782 KB · Views: 517
 -
 20201123_204331.jpg188.1 KB · Views: 493
 -
 20210317_130718.jpg154.2 KB · Views: 517

