Slaphappygamer
Well-Known Member
- Region
- Other
- City
- over here
Got a new seatpost.


Got a new seatpost.
")


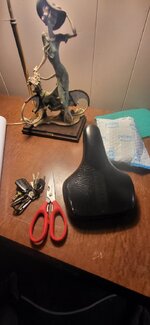
Saddle looks great. Nice job!I bought this leather patch for $20 buck for my saddle. Originally from my 1st ebike an aventon level cruiser style, I like it so much to DIY new upholstery. I did it on 1st attempt. Oh zoom on old saddle it is cracked.
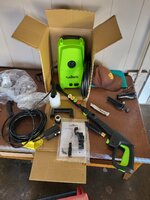
Use caution when using a pressure washer on an e-bike! High pressure can drive water into places it shouldn't go.I ordered it to clean my ebikes and pick up trucks
At one time watching YouTube videos of people using power washers was highly popular.This was delivered today, 1900 psi pressure washer with too many attachments. I ordered it to clean my ebikes and pick up trucks and for general cleaning. Unboxing it was easy but after half bottle of California red wine and smoking pakalolo. I think I can wait for Saturday to figure out what all the attachments are for.