OK, 2 different LBS guys told me to carry a tube for a tubeless puncture that won't seal by adding sealant from a small Stan's bottle. But you guys just talked me out of it — which should leave room for the desired alternate outerwear in the saddle bag.
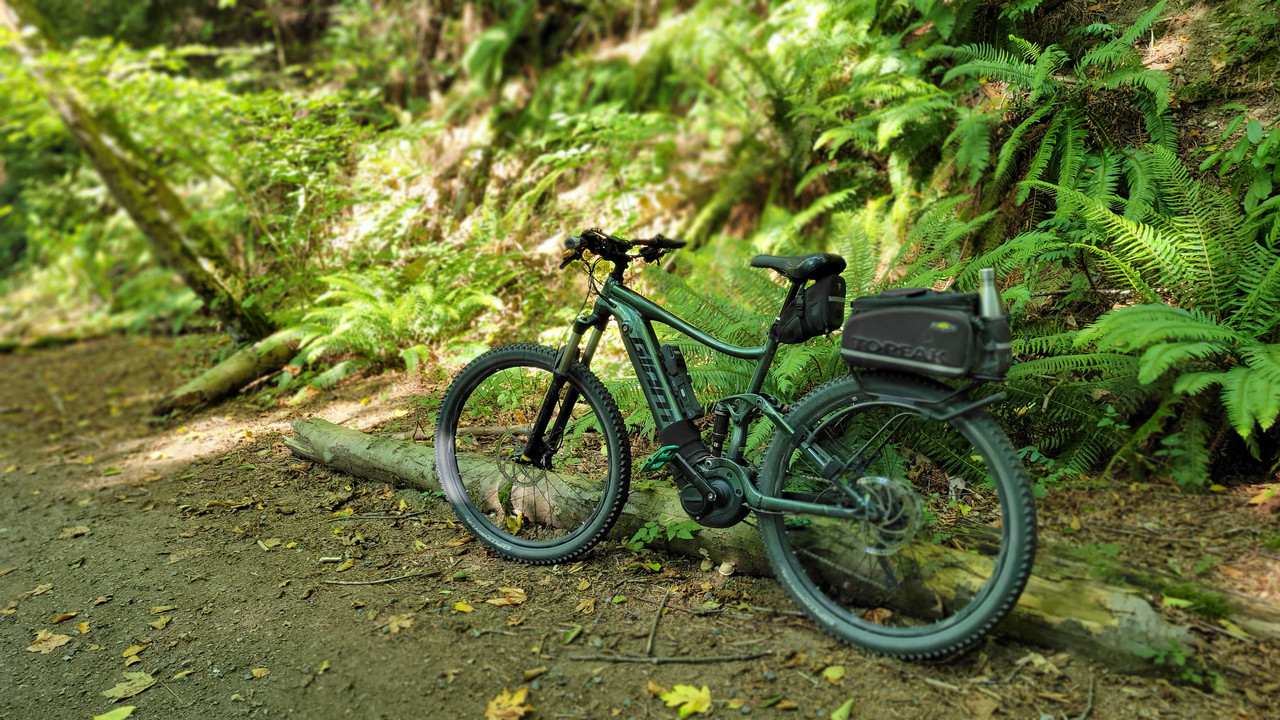
Then the rack would be free for unexpected loads — hopefully secured with the small bungee net I just ordered to try, to be stowed now in the saddle bag.
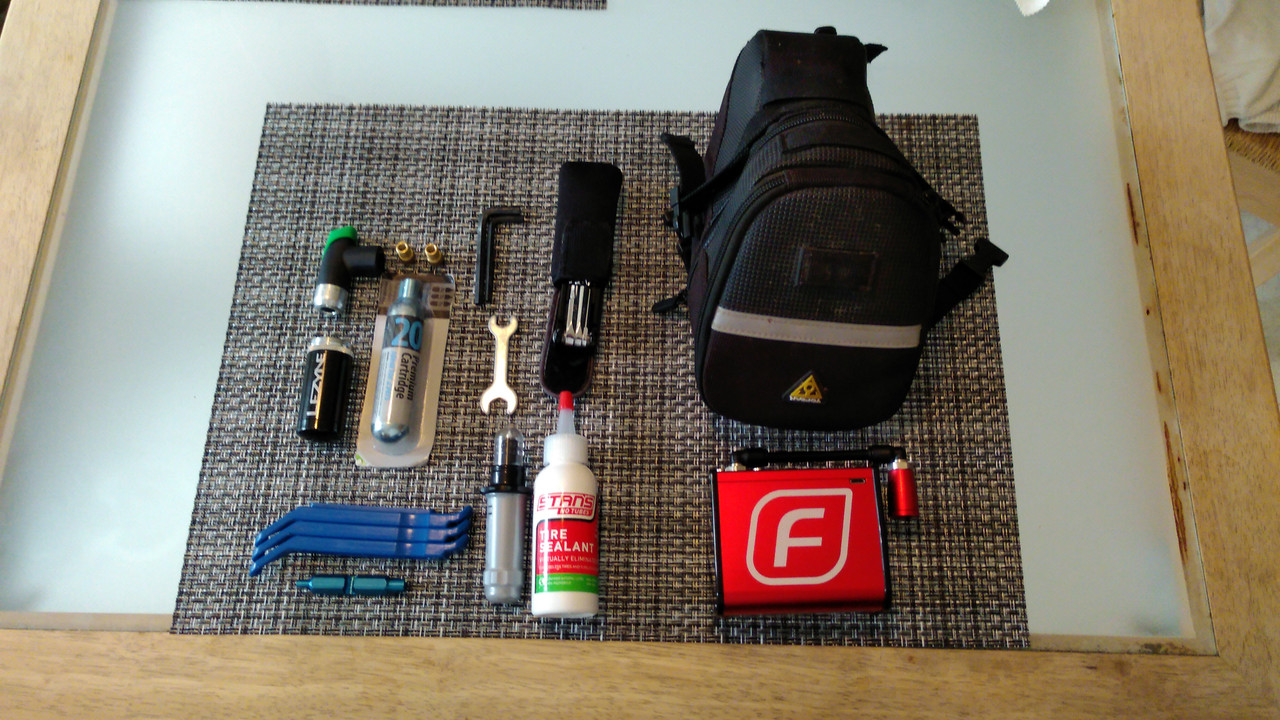
@mschwett , searched high and low for a larger forward frame bag that wouldn't block the TCU and/or top tube and/or down tube bosses. The small one shown is the only ready-made solution found, but a custom bag might work.
Sticking for now with the Any Bottle Cage shown for my thermos. Will look into a tubeless repair pill.
@Stefan Mikes , I foresee a lot of "how to deal with a tubeless flat" YouTubes in my future. Got some tips from one experienced LBS guy, but without practicing at home, I'll probably remember little of it in the field.
What about carrying a plug kit for small holes and a tire boot for gashes?


") Because I would not be able to handle the situation myself, so you would be even less qualified to do the replacement
Because I would not be able to handle the situation myself, so you would be even less qualified to do the replacement