Chazmo
fat-tire biker
- Region
- USA
- City
- Central Massachusetts
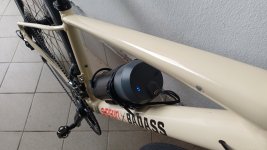
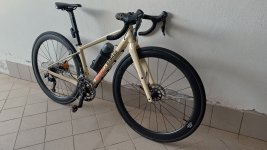
Wow, beautiful, EMGX!As always thank you for sharing your knowledge which has been very helpful to me and I'm sure many others based on the 145,000, and counting, views of this QIroll thread.
I'm still planning on riding the Mickelson trail this year, maybe next week if the weather forecast holds. Thunderstorm forecasts held me back from traveling there ealier but I have ridden on the Palouse to Cascades trail, in the north Cascades and over Going to the Sun road in Glacier so far this summer.
View attachment 197873


")