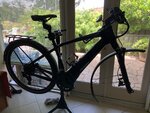
With the information provided earlier in this thread, I made some changes to my 5.0. I'll list them all here and maybe somebody can use the info.
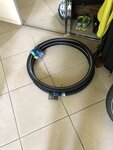
Thudbuster LT Seatpost, 30.9 x 40mm
Deity Highside 760 50mm Rise Handlebar stealth
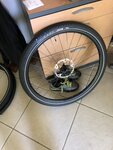
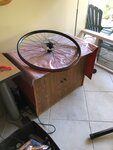
Shimano XT SM-RT76 6 bolt rotor 203mm
Shimano F203P/P Disc brake Adapter
Salsa Lip Lock Seat Collar 35mm
With the above you can convert your Vado to a boulevard cruiser.
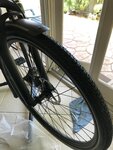
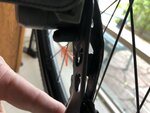
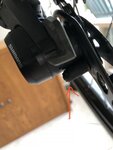
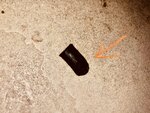
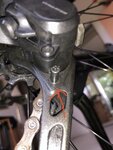
I installed the 203mm rotors on front and back. You use the adapter listed above for front and back, the back is installed with 'up' pointing down, and some carving must be done to clear the frame on the extended portion, file if you got all day or hand grinder makes quick work.
The handlebar rise really makes a difference, they are too long so much be shorted 1.5" on each side to match or your choice.
Thudbuster, what can I say, suspension at its finest. Does increase reach a little.
When you remove the stock rotors you better get an impact driver like you use a hammer on, or some call it manual. The locks they use are crazy, plus there are serrations on the underside of the fasteners. If you are not familiar with using the impact you might let someone who is do it, you mess one of those fasteners up and you'll regret it forever, you'll probably need some adapters to get down to the torx T25 I believe it is. I didn't reuse the locks.
The seat post clamp
Specialized uses is pretty small, the Salsa liplock is much better suited for clamping the smooth tube of the Thudbuster.
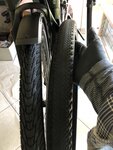
Also installed Schrader valve tire tubes, drill out the presta holes with a size 'S' drill bit, whatever that is. Make sure to shake out or be careful with all the aluminum chips.
Good luck and good riding!