New Vado SL and the one thing I would like to change is to have a light switch !!
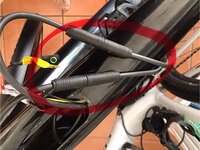
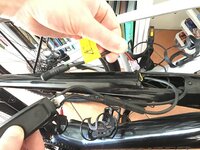
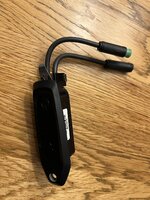
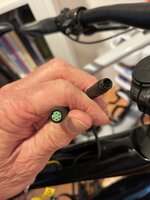
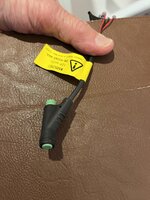
I have seen the post re fitting a switch - https://forums.electricbikereview.com/threads/headlight-switch-for-vado-sl.51329/ - but I would like to turn both off, not just the front one, so I could do with understanding where the cables/connectors are for the rear - does anyone have access to a Vado SL wiring diagram ?
Thanks