Turn Your Bike Into an Electric Bike

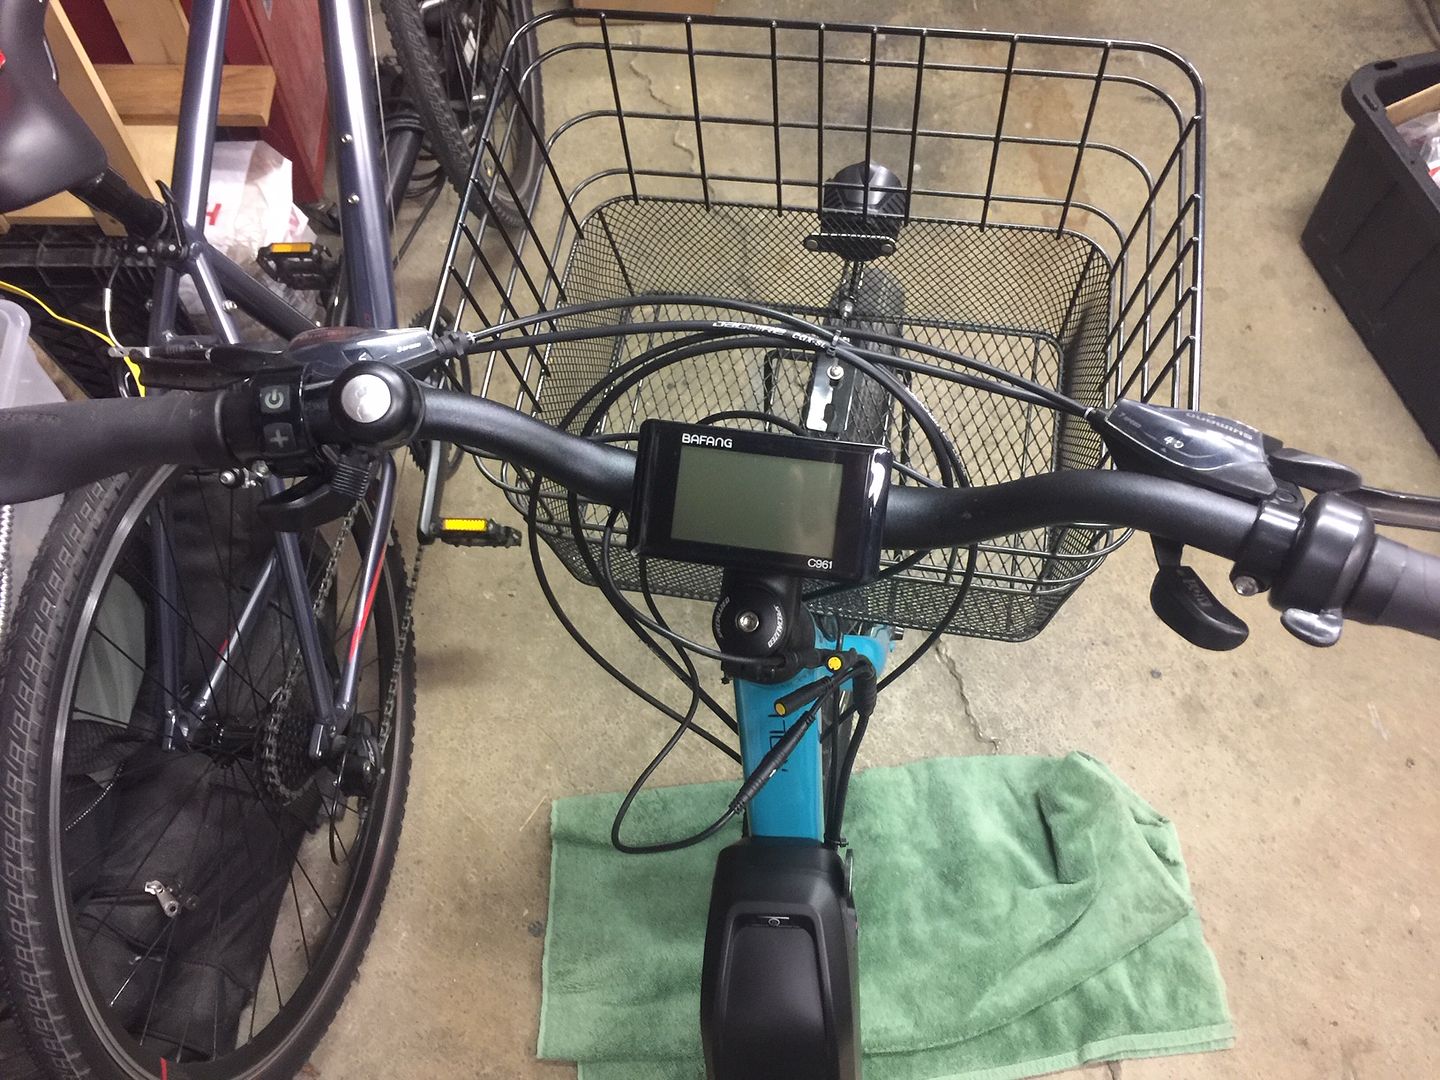
For sure I got new brake handles, not sure if they included the mag-switches for legacy handles or not. I think I'll use them anyway, just get new shifters unless they're costly. Shopping now. This will make it easier to fit everything on the bars as well. And yes, thumb throttle for sure now.

I replaced my integrated shifters with these Shimano SL-M360 3x8 shifters

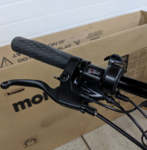
Shown here with brake, shifter, and thumb throttle.

40707
 
Despite how it looks, I've never found a bike where I was able to place the ring under whatever holds the bearings in place. And you have to buy a tool to remove the bearing to find out the ring won't fit. Then you mess around for an hour or a half day making something to hold the sensor.

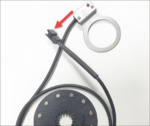
The two piece PAS (sensor ring and magnetic disc) are installed on the right side of the crank. You slide the sensor ring over the bottom bracket then reinstall the bracket. The ring sits secure behind the flange as shown in the first two frames of this install diagram.

40709

*** Important: There is a problem with this diagram. As shown, the sensor and disc are installed backwards. The plastic part of the sensor should be facing out. And the directional arrows on the disc facing in. ***
 
Thanks @stanmiller -
I think I've got it dialed, everything fit on the bars with the thumb throttle on the right. It is more or less designed to be that way so I think it will be fine.
I need a pair of sensor wires instead of the brake levers - can order a pair through Amazon from the Greenergia people or maybe I can get them to send a pair - they are in stock for next day delivery so I have an inquiry started with them. They had originally agreed to change them out on my kit but that didn't happen.

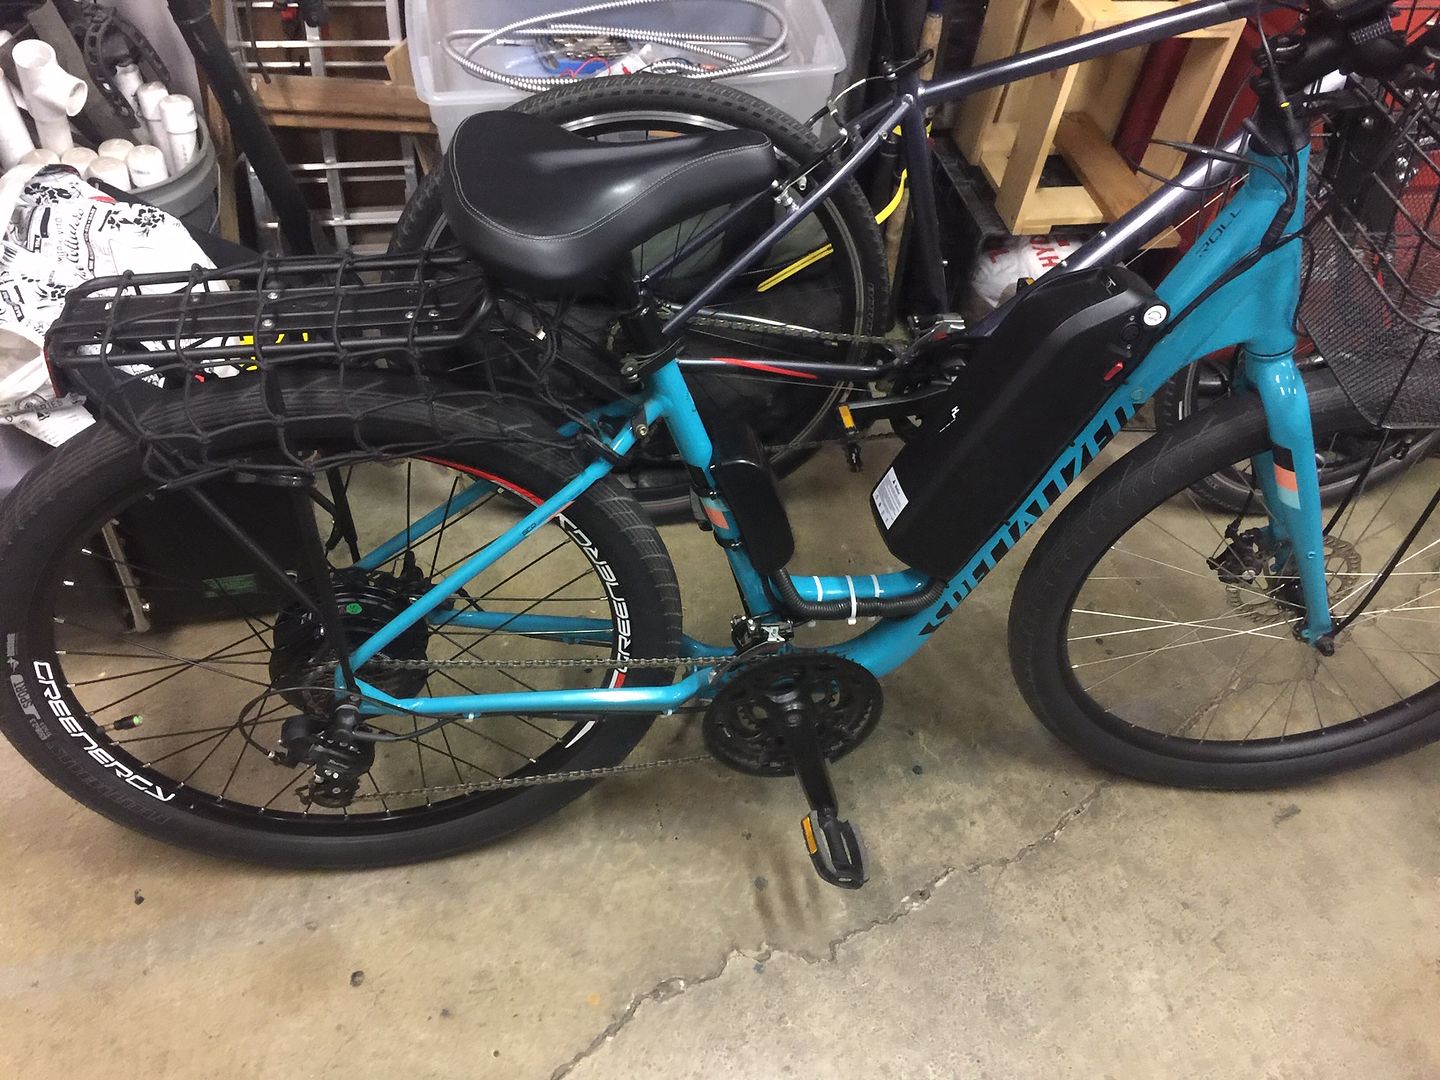
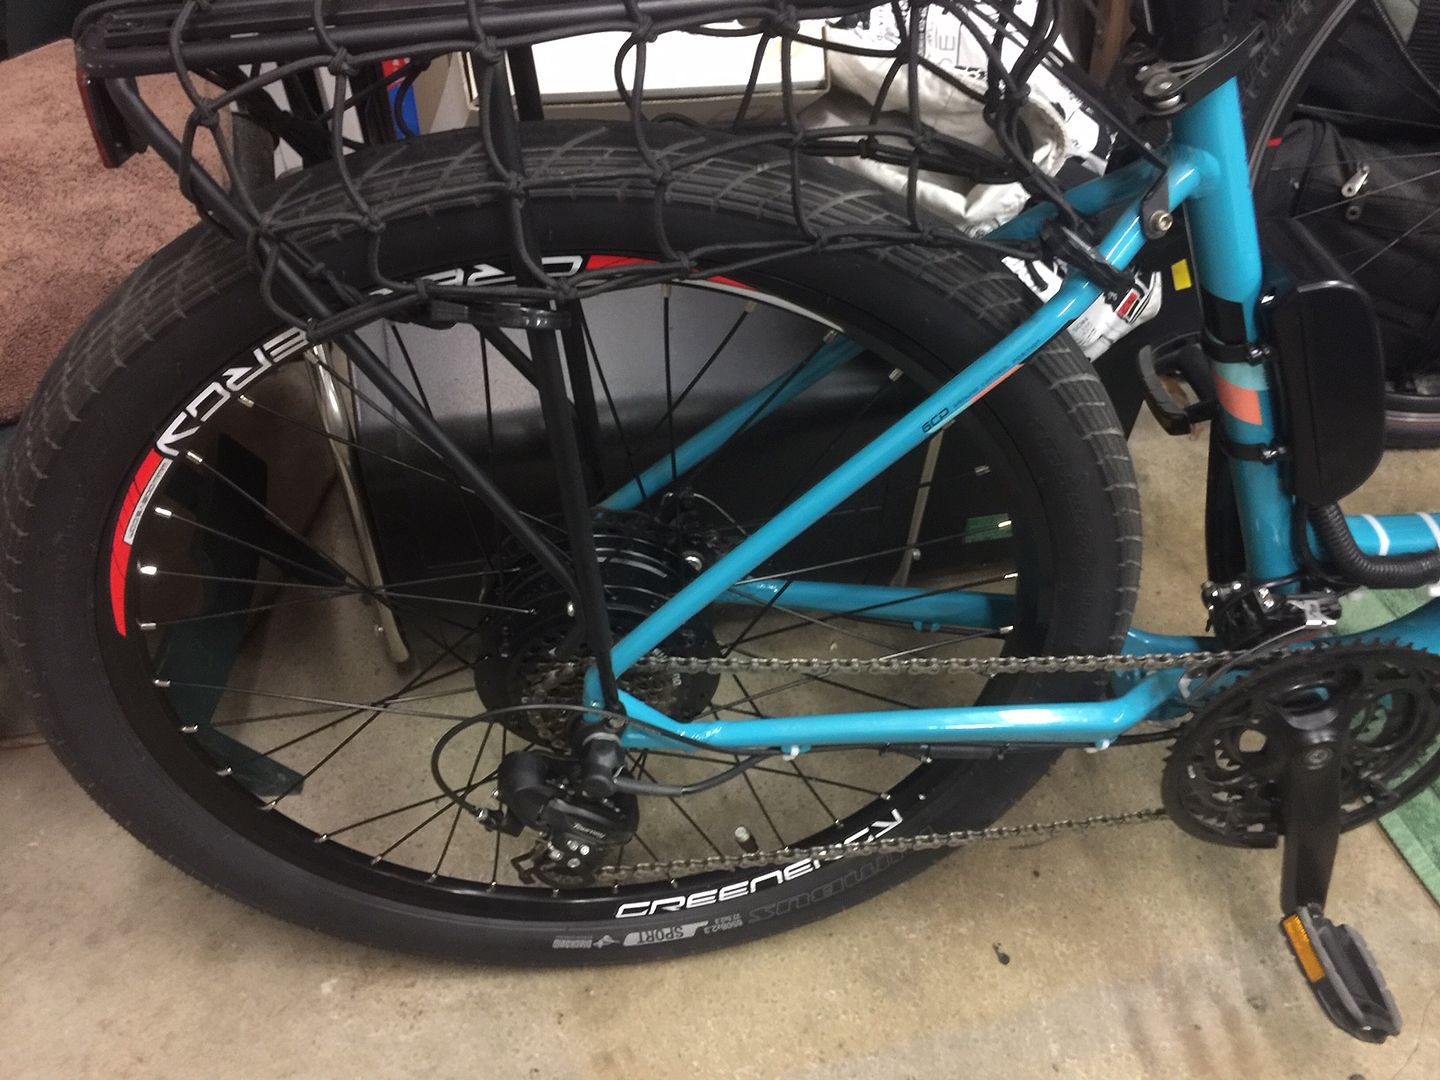
I fiddled around with it for half the night and everything went together quite nicely. The hub and wheel set look really good, assembled and dropped into the chainstays just like magic - zero issues. Everything fits perfectly and works perfectly. The rim is a little narrower than the stock one, but the tire fits fine, it's a shraeder valve which fits as well, and it all mounted up and looks good. Not sure about the rim decals yet...will leave them for now but may peel them off for more stealth.

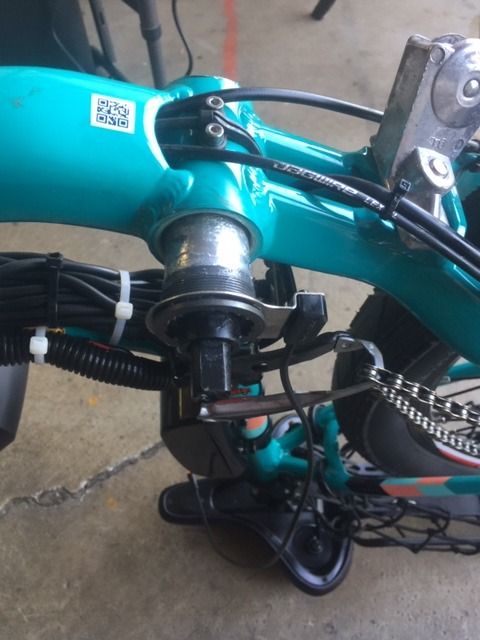
I need a crank arm tool to get the bottomset out - figured out how the larger sensor goes in there, so I can pick that up today and assemble the PAS tonight.

I ran out of black zip-ties so I'll change those out - ignore in the pics. LOL The smaller controller box worked fine. I was trying to fit all the extra wire in with the controller in the larger box they supplied, but the cover wouldn't go on it, so I went back to the smaller one and coiled up all the extra cable under the step-thru frame rail on the bike.

The kit comes with a nice headlight which I have mounted on the front of her basket - it lights up with the display backlight using the '+' button on the controller - very cool. Got the C961 display all setup with wheel size and settings - put the assist on 5 and max at 23. We'll start there. The walk-feature works already, I just can't test the bike out yet 'till I get the PAS installed.

Sorry for the messy background - it's dark out yet. I'll get some better pics of everything on our test runs in sunlight.
Thank you all for all the great advice!! We're so excited we can't stand it! :p


The two piece PAS (sensor ring and magnetic disc) are installed on the right side of the crank. You slide the sensor ring over the bottom bracket then reinstall the bracket. The ring sits secure behind the flange as shown in the first two frames of this install diagram.

View attachment 40709

And what happens when the crank gear rubs against the assembly because the ring gear sticks out , which isn't unusual. I've mounted six of these sensors. Never had one fit like that. I end up doing stuff like below.

40715
 
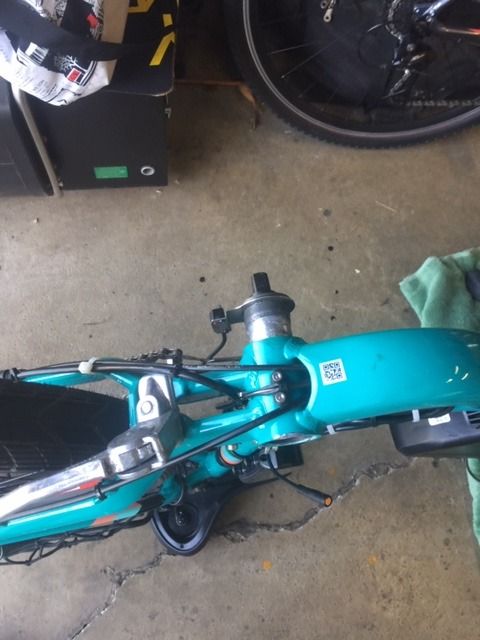
There's definitely a flange on the right side next to the chain ring where it appears you can clamp that sensor ring into the bottom set. Once I get it apart I'll be able to tell best how to set it up.
I don't see how the little integrated sensor unit could fit on this bike - the crank shafts are are too large in diameter and there isn't sufficient width in the components for it to fit between them. I think the larger multi-magnet ring and sensor can be made to fit, will go in right behind the smallest chain ring.

Which leads me to a query on how and why for brake lever motor cutoffs...
If you quit pedaling and release the thumb throttle the motor cuts off anyway, right? So what is the purpose of the brake cutoffs? For the person that keeps pedaling or forgets to let go of the thumb throttle?

A new set of rapid shifters without integrated brake levers is about $35. A set of magnetic switches for existing brakes is about $20, but the supplier for my kit said they would provide them in lieu of the new brake levers by themselves that have the cutoff switch in them. I'm waiting to hear if they can or will provide what I need. Otherwise I'll just order a set or some new shifters, or at least one for the right, the cassette gears, and just leave the left side off and lock her to the middle chain ring. Would be nice to have everything working as before though, so that's what I'm shooting for.

This is the last piece of my puzzle. :)

I got both of these in my kit:

images


pas-sensor.jpg
 
If you quit pedaling and release the thumb throttle the motor cuts off anyway, right?
another safety level. Some go without. AT my age everything hurts more and accidents damage more. I err on the side of caution.

Bottom version is similar to the quality that the talented Harry S uses. I find them lacking and now hate going back and fixing stuff. YMMV

Screen Shot 2019-10-29 at 2.17.57 PM.png
 
or left as needed.

I see now. Examples of a left side installations with a two piece PAS (sensor ring + magnet disc) are harder to find.

You need a left cup with a flange to secure the sensor ring on the left side of the crank.

Also, this video shows where the installer flipped the sensor in the mount to directionally align.

 
Last edited:
There's definitely a flange on the right side next to the chain ring where it appears you can clamp that sensor ring into the bottom set. Once I get it apart I'll be able to tell best how to set it up.
I don't see how the little integrated sensor unit could fit on this bike - the crank shafts are are too large in diameter and there isn't sufficient width in the components for it to fit between them. I think the larger multi-magnet ring and sensor can be made to fit, will go in right behind the smallest chain ring.

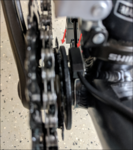
I my case, I only needed 5mm or so on the spindle to host the magnetic ring. The sensor edge is essentially flush with the cup below. The smallest chain ring on my Mongoose Envoy is 22t and is a chain-height taller than the magnetic disc. It's tight quarters but all works.

40797

Is this the connector that came with your kit? I would expect a HiGo (round, yellow-orange inside, with three pins).

40798
 
Last edited:
Which leads me to a query on how and why for brake lever motor cutoffs...
If you quit pedaling and release the thumb throttle the motor cuts off anyway, right? So what is the purpose of the brake cutoffs? For the person that keeps pedaling or forgets to let go of the thumb throttle?

You want brake cut-offs. Particularly while your wife gets used to the pedal-assist engagement. She may be navigating a narrow sidewalk or around a hedge or similar and the pedal assist kicks in. A reflexive tap of the brake stops that.

You may prefer the brake levers with integrated cut-off switches and standalone shifters. I bought magnetic switches but didn't install. They're a bit MacGyver.
 
Last edited:
SUCCESS!!

So, riding bikes for over fifty years and never had a crankset/bottombracket apart. Got the tool, pulled the arms, tapped out the race retainers - the right side is left thread!! Thank god I thought to check. Sensor fits perfectly - thanks for the warnings as the online 'how-to's are mostly wrong. The larger mag-disc fits perfecdtly inside the chain-ring, I just had to bend the sensor bracket a little to get it closer - it works! And very solid.

Buttoned'er up and test ride. Viola! Instant ebike! Everything works perfectly. She loves it.

Yes, I figured magnets and sensors are fiddly and a scab-fix. I have a 42-tooth single speed crankset in my shopping cart, she's never going to shift the front derailleur. Change that out and use the new brake handle with sensor built in. I just need a right-side shifter for the 7 speed cassette and I can use the new brake handle there as well. Perfect!!

I'm quite impressed with the components and how they all fit. It's remarkable that they can produce such a variety of setups for various bike and get them all to work. I also can't believe they sell these kits here domestically for over a grand, sometimes WAY over. It's a really nice setup.

Thanks again for so much help - you guys have BTDT and know what to look for.


Another question came to mind on programming - C961 display.

In advanced programming mode there is a PAS setting with 0-9 - what does this do? Is this the number of assist levels on the display? (Edit: yes, confirmed this) Or the initial level of power applied when the motor activates? Recommendations?
I lowered the max speed to 18. If she wants more we can dial it up.

Is there a way to change the clock to a 12-hour instead of 24-hour?

When you power on the default is PAS 1 - but it takes off pretty quick, a common complain on the Aventon bikes. Is there a way to tone this down some? (Edit: start in pas0)

On those Aventon bikes on PAS 0 they have throttle control once you activate the PAS sensor - a rotation of the crank. So no assist from PAS, but the throttle becomes active. This isn't so on ours - there is zero of anything on PAS level 0 - pedal or throttle.

Are any of these settings customizable?
 
Last edited:
Set the pas levels at 7 and then setting 1 wouldn’t work, no power. With 6 either. You had to select 2 when you pedal to get power, then it works in 1.
So I went back to to advanced setting for pas levels to 5 and it all works correctly again. I did not try 9 - too many settings.

I put the new brake switch handle on and that works great - motor control!

Done fiddling, good test riding now. New single speed crank set coming next week. Got a Shimano 7sp shifter coming as well.
More $$ lol.

I think they should power up at level 0, not pas1. She is starting out on 0 then selects 1 once she’s moving. It’s a smoother transition than full assist from stop. As soon as the pedals move it takes off. She tried walk mode and liked it. Some learning for sure.
 
Last edited:
My newest build with the "good stuff" from a bare frame will easily be a $2800 bike.
 
The C961 and DPC18 displays are meant to be paired with Bafang's mid-drive motors (BBS01/BBS02/BBSHD). The mid-drive controllers have the ability to offer 9 PAS levels - though some default to 5. My controller/DPC18 combo offers 5 PAS settings. Six if you include 0.

The Bluenergy controllers are made by http://www.jytjd.com/ and are programmed to be mostly compatible with mid-drive displays. An example of something that doesn't work - I can switch between eco and sport modes through the display but the PAS levels are the same.

You want to keep PAS0 available as that allows you to disable the PAS on-demand including the thumb throttle. When I'm riding around people, dogs, and dog leashes blocking pathways I go to PAS0 as to not have the assist launch me in unexpected ways.

Your wife will get used to how the PAS behaves and will find herself "shifting" through PAS levels much like gears depending on the situation.

If we had mid-drives we could adjust the parameters using Bafang's programming tool or with this much improved open source version:

Customizing the parameters may still be possible (more on that later)...

Going with a single chain ring up front makes for a smooth driveline. My townie is 1x8 and pedals like butter.

Well done on the build!
 
Last edited:
The C961 and DPC18 displays are meant to be paired with Bafang's mid-drive motors (BBS01/BBS02/BBSHD). The mid-drive controllers have the ability to offer 9 PAS levels - though some default to 5. My controller/DPC18 combo offers 5 PAS settings. Six if you include 0.

The Bluenergy controllers are made by http://www.jytjd.com/ and are programmed to be mostly compatible with mid-drive displays. An example of something that doesn't work - I can switch between eco and sport modes through the display but the PAS levels are the same.

You want to keep PAS0 available as that allows you to disable the PAS on demand including the thumb throttle. When I'm navigating around people, dogs, and dog leashes over pathways I go to PAS0 as to not have the assist launch me in unexpected ways.

She'll get used to how the PAS behaves and will find herself "shifting" through PAS levels much like gears depending on the situation.

If we had mid-drives we could adjust the parameters using Bafang's programming tool or with this much improved open source version:

Customizing the parameters may still be possible (more on that later)...

Going with a single chain ring up front makes for a smooth driveline. My townie is 1x8 and pedals like butter.
both displays are outsourced by Bafang and there are different firmware versions for different motors, not in any way limited to mid drives. Reviewing their home page features we find many aren’t made available with full range firmware. Numbers of PAS levels are more of less useful depending more on riding style and specific application. I have 3 C961 versions. I found it frustrating but true.
 
Invaluable information here guys - thank you so much. Thanks for kudo's Stan - you were a big push for me to go for it.

Now I see why changing the pas levels got me nothing - there isn't anything there. LOL So 5 levels it is and it works fine. Pas1 is a little too fast, and 3 goes nearly to the limit. Would be really nice to be able to custom program these settings.

We've got it more or less figured out - in fact I was explaining to her the button control for assist levels is more like the throttle - all the thumb lever does is turn it on or off. And yes, she'll get used to using it with some time - that's always the case. PAS operation will likely be the most common way she'll use it - pedal, coast, repeat. The best part is that it goes!! And stops! 🤣

The best things about the whole install is that it really does work well, it's virtually silent, it kicks in when you pedal based on where you set it, and it's FAST! As I mentioned I've set the max speed to 18 and that works fine for her. We can always adjust it up.

The included brake levers are really pretty nice. At least as nice as the Shimano integrated units, the latter probly stronger, but the former have the switches in them and work and look great.

Some changes/options I would like to see on this or any kit...
1. Option for a different rim - this is a pretty narrow rim for a 2.3" tire. It would have been nice to have that option.
2. SS spokes - oddly the Roll has SS spokes, so now it has black in the rear and SS in the front. Not a big deal, but an option would be great none the less.
3. Cable covers, wire ties, shrink wrap if applicable - I used some corrugated wire covering and it looks and works great, and a ton of various sized zip-ties. They provided a few very thin (and weak) zip ties and I used more than twice that many, large and small gauge. I think the supplier should have an install package as an option, with some nice cable wrap, cover, etc.

That's about all I can think of at the moment.

We were out test riding last night...here's a vid. Yep, it actually propels itself!!
"Mrs. Browneye" Sherry and our 17yo pomeranian Gracie. She goes everywhere with us.
 
Last edited:
Back