I am attempting to install this rack on my wife's Como. Sorry, late to the party. Not sure yet if the cable will be long enough. I will definitely go the MIK adapter route even for the included plate since I have other baskets which she will need to swap out.
mrkjd:
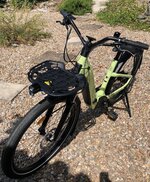
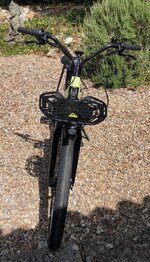
Curious at what your final decision was on the washers. It looks like the two top screws get two washers and the bottom one gets the smaller washer.......
mrkjd:
Curious at what your final decision was on the washers. It looks like the two top screws get two washers and the bottom one gets the smaller washer.......
![20230807_131210[1].jpg](/data/attachments/160/160099-8a31c7655918a9ce8464ea5377ebef08.jpg)