In the past, I've had two Haibikes and it was very easy to fix a flat on the road. Just carry the usual spare tube, tire levers, and a pump/co2. No problem.
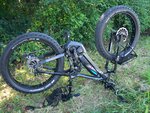
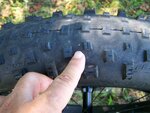
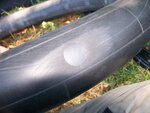
However, my new e-bike comes with the Alex Rims and Shwalbe Big Ben Plus tires. I've seen this combo on other e-bikes as well. These appear to be European and the parts are difficult to find in the U.S. (e.g. 20" presta tubes). Yesterday I had a flat when I got home and I couldn't unseat the bead from the tire. First time I've ever encountered such a difficult tire. After many attempts and Google search for help, I had to take it to my local bike shop. They had a heck of a time as well. It eventually took two techs pulling on it at the same time to unseat the bead. I'm now learning others are having a hard time with the Alex wheel/Big Ben combo.
Problem is that I HAVE to be able to fix a flat on the side of the road. Some of my rides are 20+ miles away from home. With my current wheels/tires, I cannot do that. Anyone else experienced this? Is this because heavy duty bikes (such as cargo/utility) bikes need beefier wheels/tires and you just can't change them roadside?
I'm thinking about purchasing new wheels/tires even though my new bike is only one day old. It is an absolute MUST that I be able to fix a flat on the road. And what combination would you recommend? My rear tire is 26" (10 speed cassette w/quick release) and my front tire is 20" (2.15" wide tire). And they're both presta. I would prefer Shrader since it's much more common in the U.S. (for those sizes).


") PS: Nice bikes in your collection there!
PS: Nice bikes in your collection there!