Archon X1 Programming Thread (questions and experiences)

The motor with controller CAD model can be downloaded or checked on the GrabCAD


1748631251695.jpeg


1748631467186.png


You can use it for reference to see the cables connections and proper cables routing.

The motor controller area is precisely reverse engineered and can be used as a reliable reference.
 
I designed a cheap version of the AMPLIFIER board for regular copper weight (1oz) and regular through hole vias (the original design of the AMPLIFIER board with heavy copper and blind vias is quite expensive) and this cheap version it is about $2 per PCB if you order 5 of those on JLCPCB website. I have not built it yet but I uploaded the files in the updated archive with the PCBs


Two other PCB boards of the controller are even cheaper and are good as is.

This board should to be 0.8 mm thick and you have to cut and glue 0.4mm thick isolation layer on the bottom of the board after soldering the components. The isolation layer can be cut out of 0.4mm thick fiberglass board and glued on the bottom of the AMPLIFIER board with high temperature epoxy glue or potting compound.


1750371321350.png


1750371374452.png


1750371393894.png


1750371435290.png


1750371589323.png
 
Last edited:
I played around a little bit and was finally able to connect via VESC Tool to my Innotrace X1!

First I made connection using a simple USB to CAN adapter (e.g. canable) and tried to send common VESC CAN commands (VESC CAN-Bus Communication). I got no response and assumed it has been either completely disabled or hidden.. Its known for manufacturers that they wanna hide the fact, that they are stealing code: Here is another example, where a Torp TC500 controller has been torn apart. I gave it a try and brute-forced, by sending every combination possible... It took a few months, but one day, when I checked for my logs, the controller started talking back, because of one specific message I sent: 00D431FF # 14 78 00 00 00 00 00 00. It appears to be a "magic message", that enables usage with VESC Tool, once sent:

View attachment 165484

For connecting I used CAN-Forward on a VESC-Express. You can do the same thing with any VESC controller. I used a VESC-Express which is simpler, because it's powered by USB-C. It pops up as secondary CAN-device out of nowhere and it's possible to read and write motor parameters like maximum wattage, motor current, ...

View attachment 165485

CAN-connection is already available from the outside! Here is the pinout for the black connector (04R-JWPF-VSLE-S) of the M620-motor:
Code:
      ╭──╮
╭─────┘══┖─────╮
│ ☐  ☐  ☐  ⨯ │
╰──────────────╯
  │   │   │  ┖> x not used
  │   │   ┖───> H CAN-H ───┐    green
  │   ┖───────> G GND    [120Ω] is already in place!
  ┖───────────> L CAN-L ───┚    yellow

Here is the exact instruction:

- Download and install VESC Tool program on your computer


- Obtain VESC Express dongle


- Connect the VESC Express dongle to the black connector (04R-JWPF-VSLE-S) of the M620-motor (Please note the VESC Express dongle requires 5V power source also to work so you might need to figure out this additionally)


- Connect USB cable to the computer and to the VESC Express dongle as Dedo posted earlier

You can make a cable also for convenience


The display with wiring harness should be connected to the motor too (to be able to turn the controller ON)

1748967923823.png


- Connect the battery

1748967955301.png


- Turn the display ON (to power the controller)

1748968009371.png


-Launch the VESC Tool program on your computer and make sure the VESC Express is supplied with 5V power.

-Follow these steps:

1) Press "CONNECT" button in the VESC Tool program

1748968344267.jpeg


2) Select "CAN Analyzer" in the menu
3) Select option "True" in the "Extended" field
4) Print 0x00D431FF in the "ID" field
5) Print 20 in the "D0" field
6) Print 120 in the "D1" field
7) Click "Send"

1748968451724.jpeg


8) Click "Scan CAN"

1748968723480.jpeg


9) Select "X1" in the menu
10) Click "OK" on the appeared message

1748968792009.jpeg


11) Select "General" in the menu under the "Motor Settings"

1748968824551.jpeg


Now you can change the motor settings.

Please note the Bafang display has time set after which it will turn the controller off if it is inactive. You can press + or - buttons on the display time to time to prevent turning the controller off while you work with it in the VESC Tool program.

Here are the settings for 14S 52V 60A battery you can start with

1748969182567.jpeg


1748969191574.jpeg


1748969198804.jpeg


1748969206641.jpeg


1748969215537.jpeg


1748969225327.jpeg


1748969234747.jpeg


1748969242300.jpeg


1748969252609.jpeg


After changing the settings click the write motor configuration button.

Do not change the settings if you do not know what you are doing because of you can damage your motor or your controller.

1748969927201.png
 
Last edited:
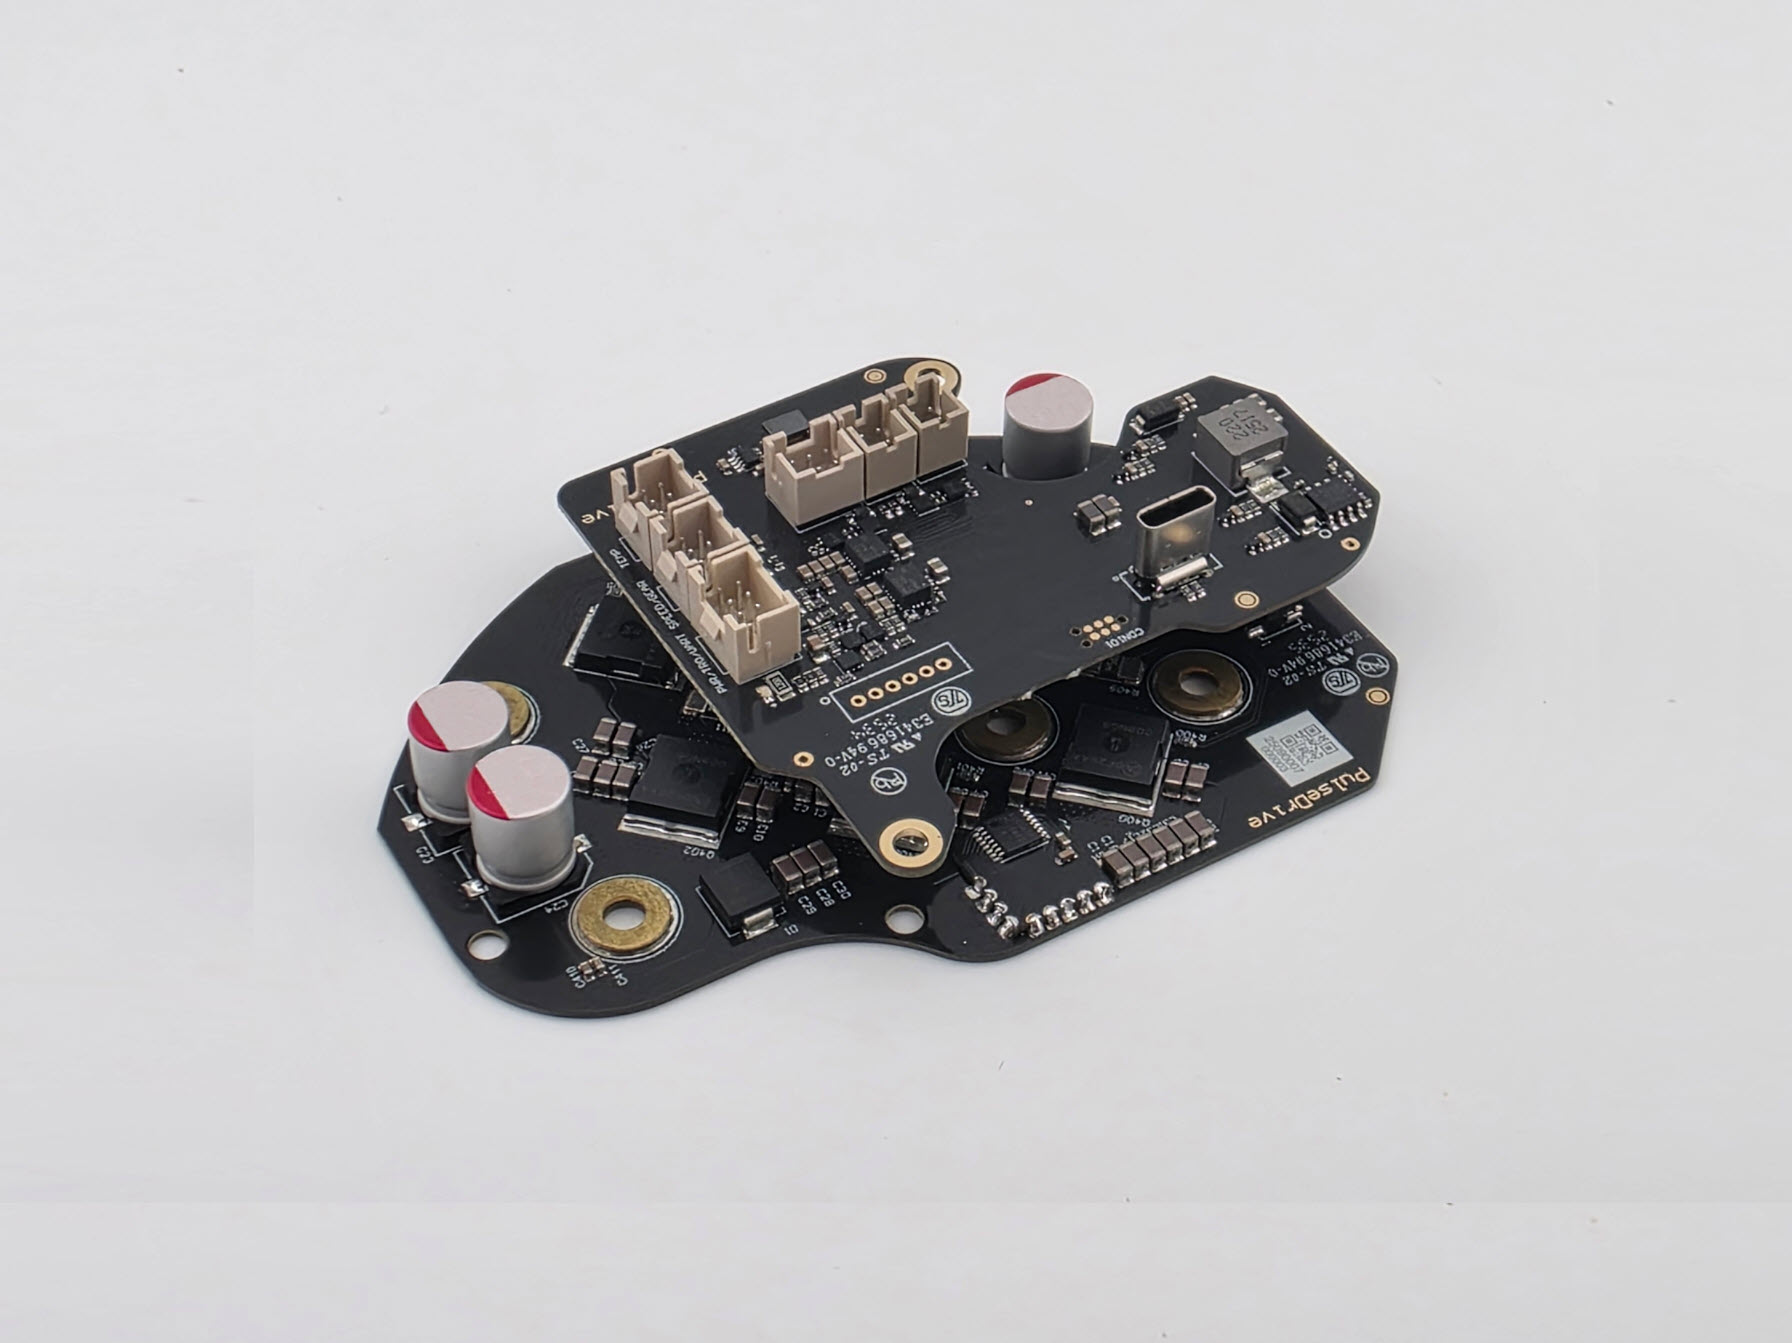
There are no pictures of the controllers on that website for some reason. The only blurry picture I found is this

1749050250876.png


That would be cool if they would sell those controllers separately without motors. Maybe for $100 or so would be nice, so people just can install the controller in their motor and would save a lot of money. Luna does kind of the same business, they sell their controllers only with their bicycles.

Just shipping the whole motor alone from Germany costs extra money and trouble while you can just ship a controller in a small package cheaper and easier.
 
Last edited:
That's an interesting article. The VESC for Babang controller uses DRV8301 chip as recommended in the article to avoid such issue. Plus it has improved not standard footprint for soldering, this footprint maintains better contact with the cooling pad of the chip and evacuates heat energy better. So as long as we can optimize the firmware that should be fine.

1749071725751.png


1749071654967.png


1749072011402.png
 
No, I do not know what is going on there.

So Rico is the owner of ebikerepair.eu ? I see some Innorace artifacts on that website and WattWagons links

1749397879448.png


1749397964018.png


As far as I know Rico works for SSP

 
Last edited:

Attachments

  • ebikerepair.png
    ebikerepair.png
    363.1 KB · Views: 33
  • Impressum_bfb.png
    Impressum_bfb.png
    233.4 KB · Views: 32
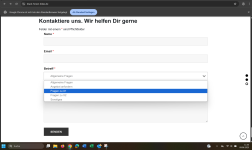
  • bfb_Kontaktformular.png
    bfb_Kontaktformular.png
    201.8 KB · Views: 31
Last edited:
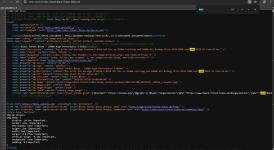
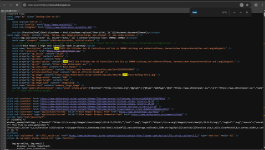
In any case, both homepages are those of Innotrace. Look at the source code of the pages
 

Attachments

  • Quellcode_blackforesbikes.png
    Quellcode_blackforesbikes.png
    628.5 KB · Views: 33
  • Quellcode_ebikerepair.png
    Quellcode_ebikerepair.png
    807.2 KB · Views: 34
Meanwhile I started the 4300W Luna M600 Ludicrous V2 VESC controller for Bafang m520/560/600 motors reverse engineering thread on the different forum (I guess that forum suits more for such stuff). Feel free to follow if you are interested.


1750474256778.png
 
Last edited:
Back