A few thoughts on tires, tubes and punctures.
I’ve had my
Lectric since around 12-21 and have put about 250 miles on it. I’m expecting/hoping to do 3,000 miles or more this year and I’ve been a bit preoccupied with the topic of tires and tubes. I’d been thinking I might switch to a tire without knobs because about 85% of my mileage will be pavement. But I’ve read reports that those aren’t great for gravel and might be more likely to get flats so for now I’m going to hold off and just stick with the stock tires. I’d also considered switching to knobby tires with a better, smoother central tread and I may still do that. The debate I’m currently having with myself is the Kenda Krusade or the Vee Mission Command as both seem better than the stock in terms of rolling resistance.
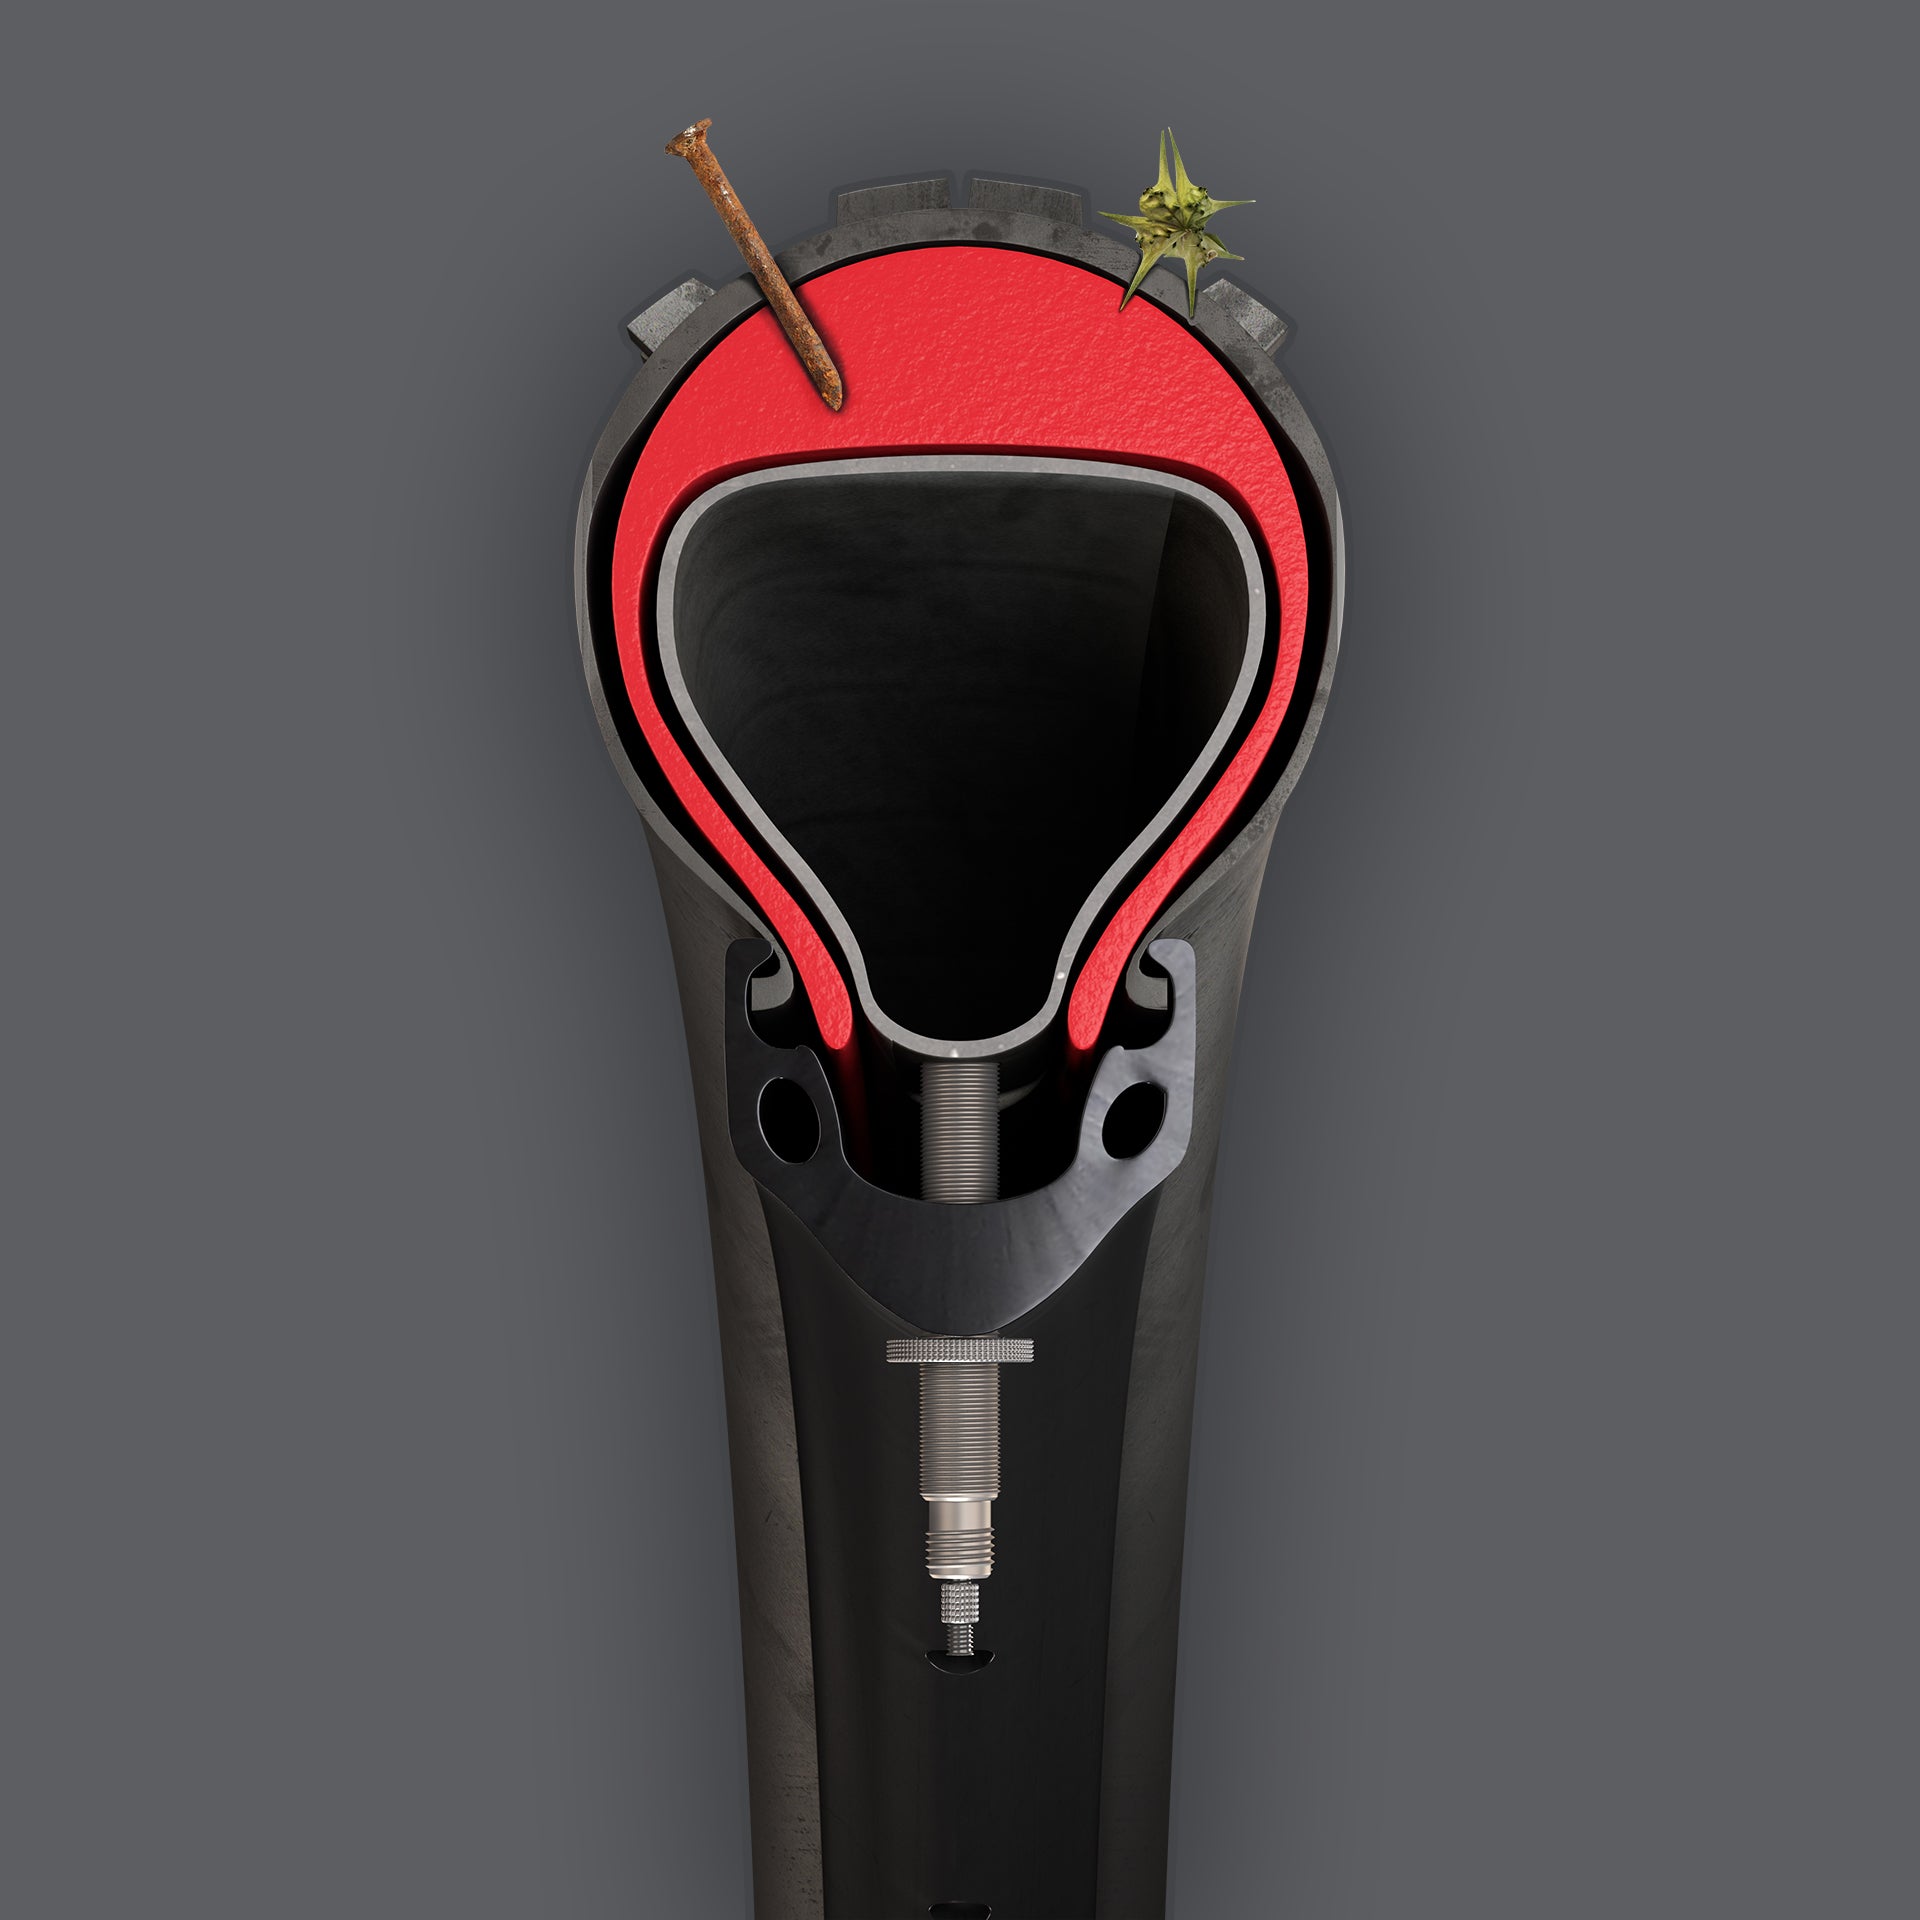
One thing I did determine was that I should, at the very least, add Slime to my tires as a preventative and to be ready for a roadside repair. Back in the late 90s I worked at a bike shop for a couple years but I’ve been off bikes since a knee injury in 2000. Feeling very rusty with the process! This morning I deflated my rear tire and added slime. Filled it up. gave it a spin to check for any problems. As it happened I noticed a small brownish bit that didn’t just brush off the tire. I scraped it with my nail and it didn’t budge. It felt like something in the tire. Perhaps a small thorn. I dug at it a bit and determined that I needed to deflate the tube and check the underside of the tire. Better to do it at home than to wait and test the slime later. As it turned out it was fairly small but it was poking through to the underside.
I’m sharing all this because in the 30 minutes I spent delflating, adding slime, re-inflating, finding the thorn, deflating again, removing the tire and then removing the thorn I was reminded, after 20 years away from the routine of bike tire/tube maintenance, how easy it actually is. It’s a subject that seems to bring a lot of anxiety to people and I know for myself I was dreading it. I’d forgotten that it’s not actually difficult once you’ve done it a couple times.
A few suggestions...
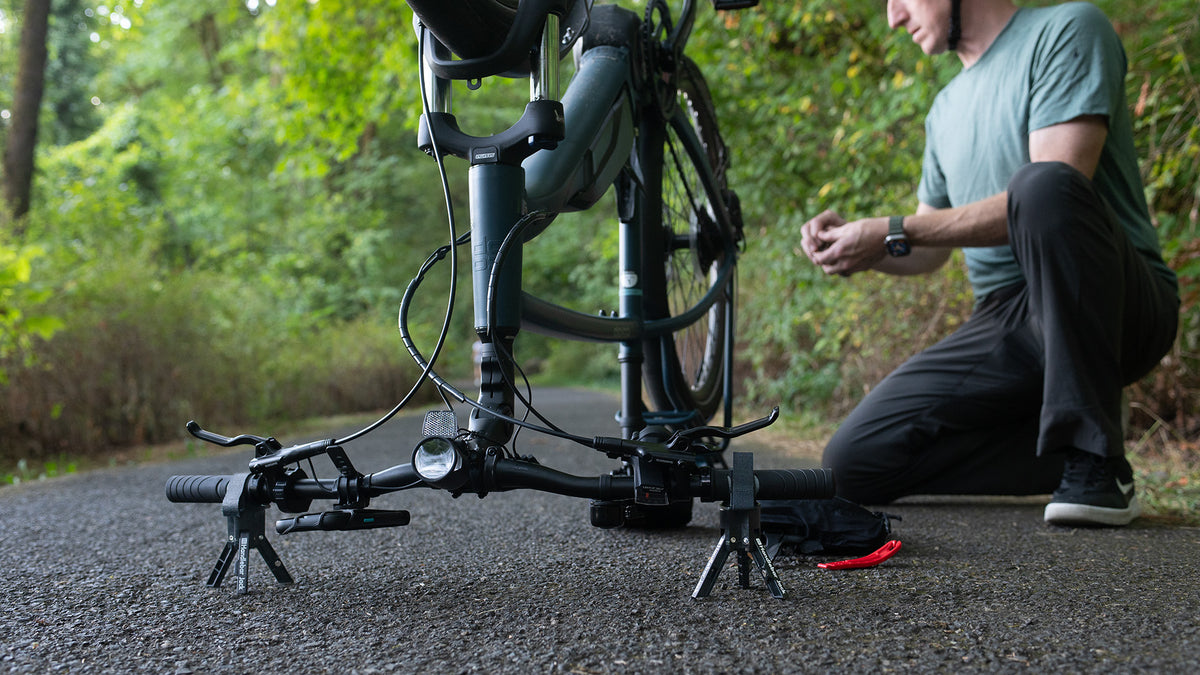
Slime your tubes at home. I used 8 ounces per tire since they’re big tires. Flip your bike upside down to do it. On the subject of flipping your bike upside down to work on it... It’s more stable if you have a pack attached to the top of your pannier rack. The backside of the bike is heavy and without a pack it will want to tip backward towards the back tire. A good idea to have a pack anyway as you can keep locks, tubes, tools, gloves, etc in it.
While you’ve got your bike upside down doing the Slime practice taking your tires off part way. The thing about roadside flat fixing is that often you don’t need to remove your wheels entirely. If it’s a small hole that the Slime can’t fix it’s hopefully small enough that you can patch it. Patching is relatively easy.
If you’re someone that’s not done this before practice! So, you’ve flipped your bike over and deflated your front tube (probably easier than the back since there's no rack in the way). Before you slime it use your tire levers (they usually come 3 to a kit with patches, glue and a little bit of sandpaper) to take one side of your tire off. Put it back on. Take it off again. Do it a couple times to get a feel for it. In my case I had the added step of checking to see if the thorn had poked through. I found it and used my finger nail to scrape it out. It's a good idea to do a similar inspection just for practice. Rotate the wheel and use your fingers to reach up into the tire, between the tube and tire, and just get a feel for it. Go all the way around to ensure that there's nothing poking through. When the time comes that you're really patching a tube puncture this step is essential. If you forget and re-inflate a patched tube you'll likely just give yourself a new flat if the object is still in the tire!
One thing to remember about working with tires and tubes is that you want to be careful not to pinch your tube with the tire levers. Be careful when you use the levers to pry the tire bead off the rim and when you are putting the tire back on be careful again not to get your tube caught.
When you partially remove a tire to patch, note the side of the tire that has the flat and that's the side to pry off with the levers. That allows for you to access the tube and check the tire for the object. More than likely you'll need to remove the tube to patch it. You may be able to just gently tug it out part way to patch. You can leave the wheel on for this which is why patching is the best first option.
The stock tires on the XP are pretty easy to work with. Start with a tire lever which you use to pry off the first bit of the tire bead. After you pop off the first bit of bead over the rim hold that lever in place with your hand or use the little hook on the opposite end to attach to a spoke which will hold it for you. Then use a second lever just a few inches down and pry off another bit. At that point you might be able to use that second lever to carefully and slowly push further down the tire and the bead will come off as you slide. Just be mindful of your tube as you slide the lever or pry with the lever.
For putting the tire back on it’s the reverse. You can often just use your thumbs to push the bead back up over the rim. If not just use a tire lever and in reverse use a second lever to gently pull another section of tire back over the rim. As you seat the tire back into the rim hold your original spot in place and be sure that you’re not pinching your tube.
I’m sure there are videos on YouTube showing the process. It’s really very easy, especially after you’ve done it a couple times. The more you practice in the comfort of your home/garage/yard the easier it will be when you have to do it when you’re out.

 www.schwalbe.com


