You are using an out of date browser. It may not display this or other websites correctly.
You should upgrade or use an alternative browser.
You should upgrade or use an alternative browser.
Vespa PX125 conversion
- Thread starter JimVonBaden
- Start date
-
- Tags
- conversion px125 scooter vespa


JimVonBaden
Member
More paint prep. I set up my $50 paint booth, and am working my way to paint on Friday and Saturday.


At the advice of a Vespa pro, I checked to make sure my floor board strips will still fit. Took some tweaking to get them there.

I also received my new shocks;

At the advice of a Vespa pro, I checked to make sure my floor board strips will still fit. Took some tweaking to get them there.
I also received my new shocks;
JimVonBaden
Member
Set up, then cleaned, and cleaned, and cleaned. Then cleaned some more. Tomorrow, before I prime, I will clean again.
Basically ready!


Basically ready!
FlatSix911
Well-Known Member
- Region
- USA
- City
- Silicon Valley
A great paint job is 99% preparation and 1% paint!Set up, then cleaned, and cleaned, and cleaned. Then cleaned some more. Tomorrow, before I prime, I will clean again.
Basically ready!
")


JimVonBaden
Member
OK, got a lot of the fun stuff done today. First cleaned and tacked off the pieces getting primed.


Then sanded all the parts going green, cleaned, cleaned again, tacked them, and returned them to the booth for paint. 4 coats of paint over the next 45 minutes and I was done.


They came out very nice. Good coverage, nice shine. I will leave them overnight, then bring in the body, which will get painted white. I am still sanding on it in the other room in prep.
Oh yeah, painted with single stage acrylic enamel and a Harbor Freight $15 paint gun.
Then sanded all the parts going green, cleaned, cleaned again, tacked them, and returned them to the booth for paint. 4 coats of paint over the next 45 minutes and I was done.
They came out very nice. Good coverage, nice shine. I will leave them overnight, then bring in the body, which will get painted white. I am still sanding on it in the other room in prep.
Oh yeah, painted with single stage acrylic enamel and a Harbor Freight $15 paint gun.
FlatSix911
Well-Known Member
- Region
- USA
- City
- Silicon Valley
Beautiful turquoise color... nice choice!
JimVonBaden
Member
Thanks, I like it. Should go good with the white.Beautiful turquoise color... nice choice!
JimVonBaden
Member
Pulled all the green parts into the workshop to make room for the white body paint.


Pretty green in the sun.

Put on four coats of white paint. It came out OK, but there are some spots I hope I can buff out.
Painted the swingarm white too.


The body has a nice shine.


Got everything cleaned up and was about to take down the tent/booth, when I realized I missed the speedo surround.
Back out with the gun and mixed up some more green.


Pretty green in the sun.
Put on four coats of white paint. It came out OK, but there are some spots I hope I can buff out.
Painted the swingarm white too.
The body has a nice shine.
Got everything cleaned up and was about to take down the tent/booth, when I realized I missed the speedo surround.
Back out with the gun and mixed up some more green.
JimVonBaden
Member
This is how the colors look together:

I kinda wanted a more off white, but I like this.
I kinda wanted a more off white, but I like this.
JimVonBaden
Member
Thanks guys!
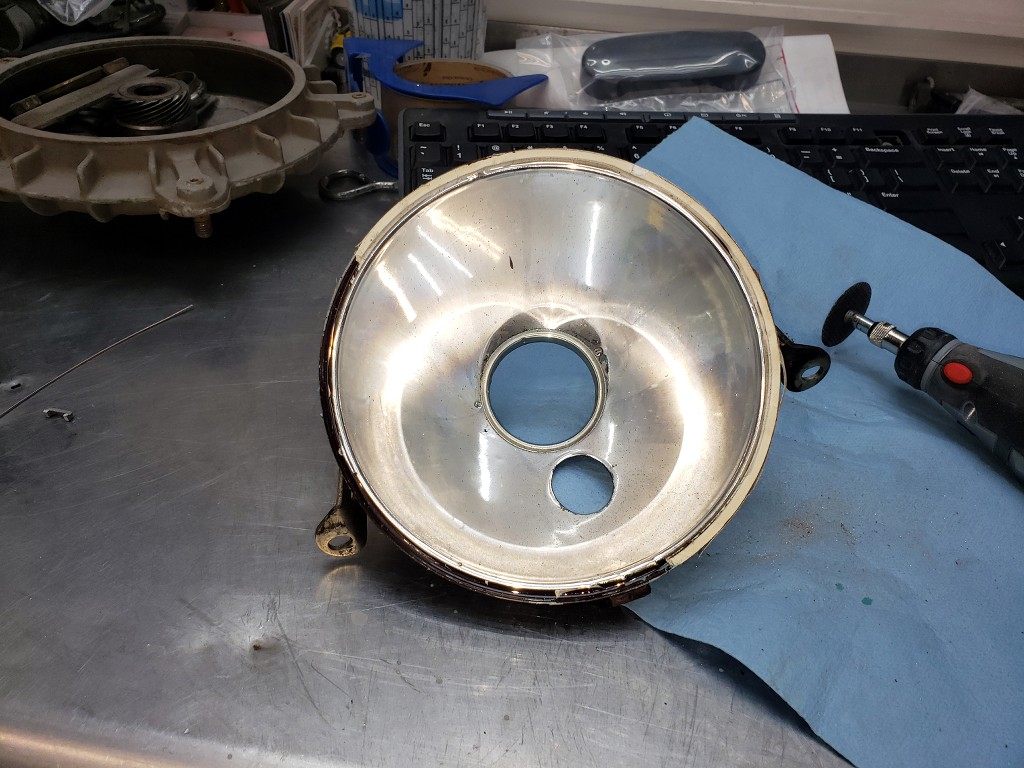
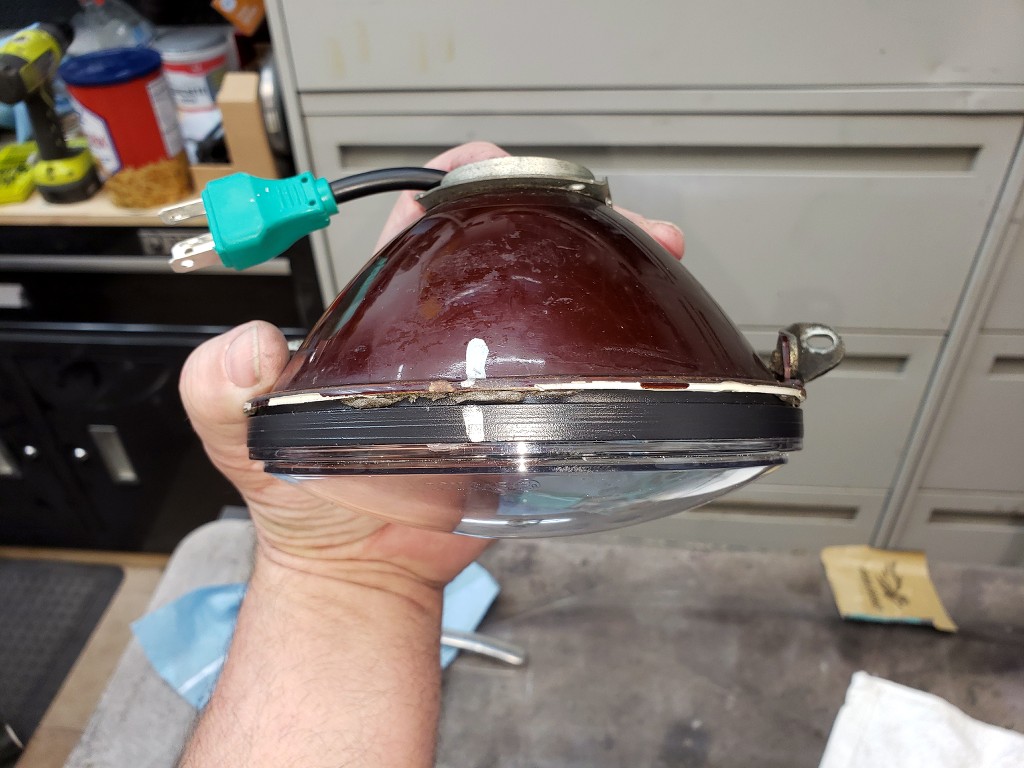
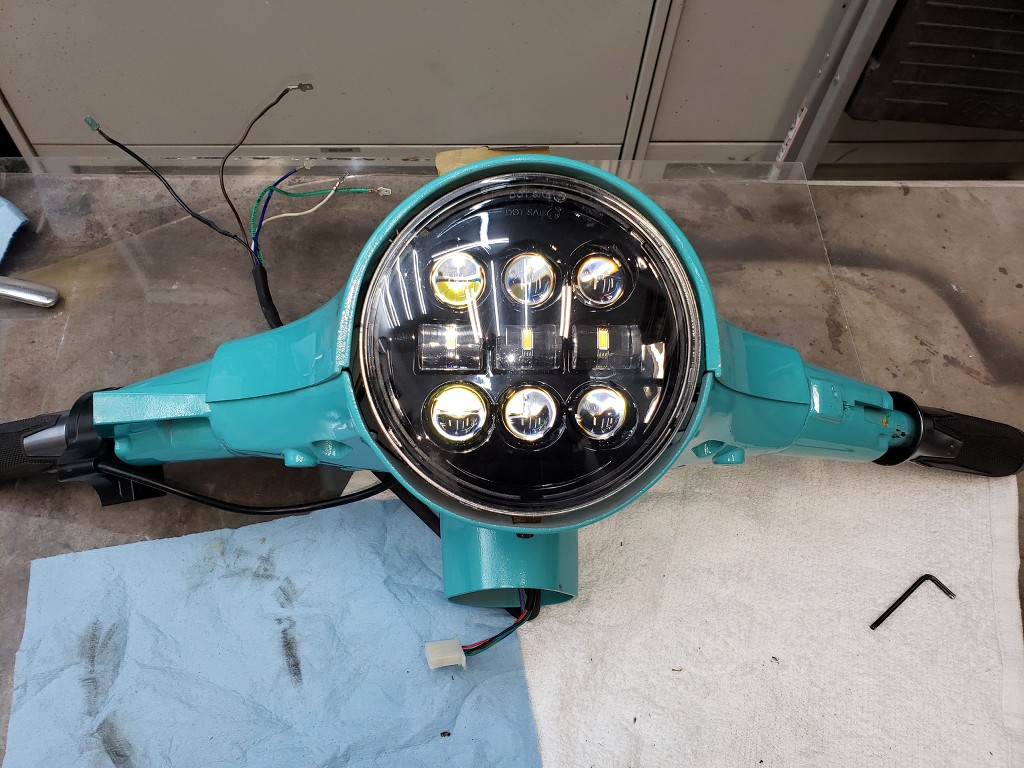
I started assembly today. First I needed to replace the broken headlight with a new LED. The LED fit perfectly in the housing of the old headlight, with a slight trim. I fixed them together with JB Weld. Then rewired the stock switches and installed the handlebars and speedo, plus ignition switch.


Making progress!
I started assembly today. First I needed to replace the broken headlight with a new LED. The LED fit perfectly in the housing of the old headlight, with a slight trim. I fixed them together with JB Weld. Then rewired the stock switches and installed the handlebars and speedo, plus ignition switch.
Making progress!
FlatSix911
Well-Known Member
- Region
- USA
- City
- Silicon Valley
The new LED light looks mod!
JimVonBaden
Member
Installed the rear shock and swingarm. Fits nice:


Plugged in the headlight to test it. Both work with nice cut-offs.


I left it plugged in for over 30 minutes. It barely got warm. I think it will be OK as is, but will keep an eye on it.
Plugged in the headlight to test it. Both work with nice cut-offs.
I left it plugged in for over 30 minutes. It barely got warm. I think it will be OK as is, but will keep an eye on it.
JimVonBaden
Member
I like this, but maybe for my wall, not the bike!

FlatSix911
Well-Known Member
- Region
- USA
- City
- Silicon Valley
A very impressive cutoff line for the headlight!Installed the rear shock and swingarm. Fits nice:
Plugged in the headlight to test it. Both work with nice cut-offs.
I left it plugged in for over 30 minutes. It barely got warm. I think it will be OK as is, but will keep an eye on it.
FlatSix911
Well-Known Member
- Region
- USA
- City
- Silicon Valley
I still have an old school tie bar with Reddy Kilowatt!I like this, but maybe for my wall, not the bike!
JimVonBaden
Member
I was also surprised, especially from AliExpress.A very impressive cutoff line for the headlight!
JimVonBaden
Member
Started installing my major electronic components. Mostly I like everything but the battery display. I was hoping to be able to open the glove box and see it, but obviously not going to work. I think I will have to suck it up and mount it on top of the glovebox. Nothing stealthy about that, but it would be nice to see it.


JimVonBaden
Member
Updated 12V and motor wiring diagrams.


JimVonBaden
Member
Started all the wiring. I am building the entire bike harness, as well as assembling the motor control wiring.
First the handle bar and headset wiring. I built the harness to feed past the steering head, and down to the horncast for a junction box. This allows the steering to be removed without cutting wires. On the stock bike it looks like this:

I will be doing it the same way, though a few wires will have conventional plugs, namely the throttle wires.
The headset looks like this:


The wires are bundled by function. Separate bundles because the space is tight, so one large bundle would not fit through the access slots in the steering. I will show that on install.
I created bundles, again by function, to go from the fusebox in the glovebox to the 72V to 12V inverter and the rear lights, and for powering the fusebox. I am grounding them with wires, no frame ground due to the 72V and 12V, that would cause big issues if mixed.
Power cut off and contactor locations, plus harnesses.


Finally, I took the plunge and cut the glovebox for the battery/power meter. I was afraid the heat would ruin the paint, but ineptness with a Dremel did it in instead!


Nonetheless, it works and should give me what I need for data. Hopefully rain will not kill it. I did seal it with hot glue to keep water out of the glovebox and fuse box.
First the handle bar and headset wiring. I built the harness to feed past the steering head, and down to the horncast for a junction box. This allows the steering to be removed without cutting wires. On the stock bike it looks like this:
I will be doing it the same way, though a few wires will have conventional plugs, namely the throttle wires.
The headset looks like this:
The wires are bundled by function. Separate bundles because the space is tight, so one large bundle would not fit through the access slots in the steering. I will show that on install.
I created bundles, again by function, to go from the fusebox in the glovebox to the 72V to 12V inverter and the rear lights, and for powering the fusebox. I am grounding them with wires, no frame ground due to the 72V and 12V, that would cause big issues if mixed.
Power cut off and contactor locations, plus harnesses.
Finally, I took the plunge and cut the glovebox for the battery/power meter. I was afraid the heat would ruin the paint, but ineptness with a Dremel did it in instead!
Nonetheless, it works and should give me what I need for data. Hopefully rain will not kill it. I did seal it with hot glue to keep water out of the glovebox and fuse box.
Similar threads
- Replies
- 31
- Views
- 17K
- Replies
- 1
- Views
- 8K
- Replies
- 4
- Views
- 3K