I think if I was to do it all over again I would just use two sections of inner tube and wrap/tape both ends of the controller and forego the furniture pads. That way you have ~80% of the surface area uncovered for heat dissipation. Alternatively you could cement the controller in place with JB weld or something similar (the downside being that if you ever needed to remove the controller it would be quite difficult).
On another note, I had a chain link nearly separate at the master link, which caused the chain to skip as it passed over the rear sprocket. I was able to break the chain and insert a new KMC quick link before it failed completely, but it did cause some frustration as I was thinking the derailleur shift position had changed. I recommend you have a chain breaker tool and quick link in your home kit, as I did not.
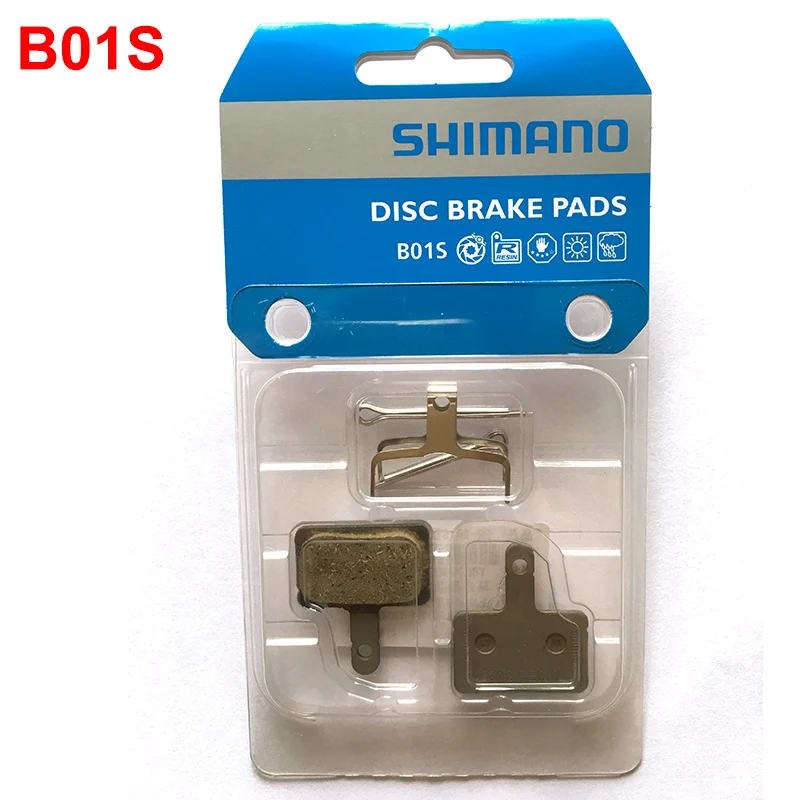
I'm also getting the flushing noise from the rear brake while under moderate to heavy braking. So far it's only the rear brake on the one bike. I have a set of inexpensive Shimano B01S organic pads that I'm going to put in to see if that resolves the issue. I'm going to do this without cleaning the rotor and see how it goes.
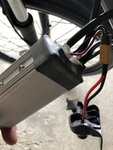
Additionally, I have attempted to protect the frame and cables from, in my opinion, poor cable management and rough frame edges, by installing clear vinyl stickers at notable touch points. There's a really, really bad touch point by the bottom bracket where the main wires from the battery and handlebars exit the frame to the rear. It appears that when the downtube was welded into place they chopped off the excess at the bottom and then painted over it without filing the edges down. It's not razor sharp at the moment but when the paint wears down I can imagine the cables eventually being compromised. It's pretty ugly and poor manufacturing in my opinion.It's the same on the other bike. Photos below:

There's definitely been some "teething" issues and will keep updating this page with new developments. Overall, the bike works as expected and my partner's bike has been working flawlessly so far. Luck of the draw I guess!
On another note, I had a chain link nearly separate at the master link, which caused the chain to skip as it passed over the rear sprocket. I was able to break the chain and insert a new KMC quick link before it failed completely, but it did cause some frustration as I was thinking the derailleur shift position had changed. I recommend you have a chain breaker tool and quick link in your home kit, as I did not.
I'm also getting the flushing noise from the rear brake while under moderate to heavy braking. So far it's only the rear brake on the one bike. I have a set of inexpensive Shimano B01S organic pads that I'm going to put in to see if that resolves the issue. I'm going to do this without cleaning the rotor and see how it goes.
Additionally, I have attempted to protect the frame and cables from, in my opinion, poor cable management and rough frame edges, by installing clear vinyl stickers at notable touch points. There's a really, really bad touch point by the bottom bracket where the main wires from the battery and handlebars exit the frame to the rear. It appears that when the downtube was welded into place they chopped off the excess at the bottom and then painted over it without filing the edges down. It's not razor sharp at the moment but when the paint wears down I can imagine the cables eventually being compromised. It's pretty ugly and poor manufacturing in my opinion.It's the same on the other bike. Photos below:
There's definitely been some "teething" issues and will keep updating this page with new developments. Overall, the bike works as expected and my partner's bike has been working flawlessly so far. Luck of the draw I guess!