I received the R&M front bag and am a bit luke warm on it.
Pros:
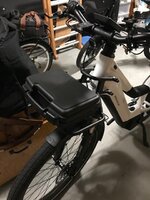
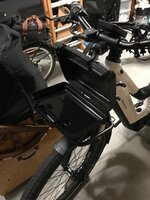
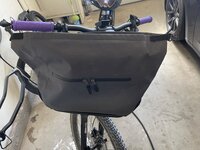
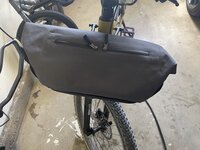
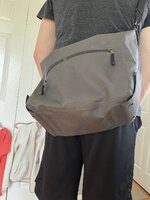
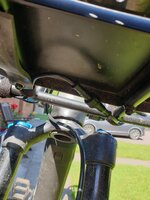
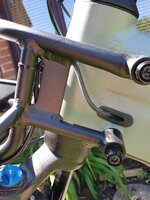
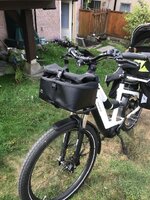
- It looks nice and fits the rack perfectly.
- Made with thick, sturdy material.
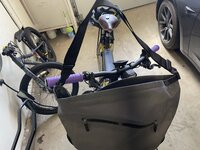
- It's large, haven't measured volume but I could fit a change of shoes, clothes and some essentials for a trip to the climbing gym, or could hold a half bag of groceries from the market.
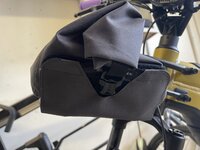
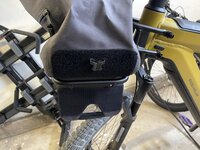
- Easy on and off with a couple velcro straps on the side and comes with a shoulder strap so you can carry it around easily.
- Top rolls down for a bit of extra water proofing or to get it out of the way with smaller loads.
Cons:
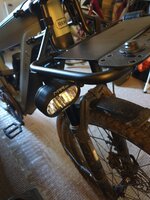
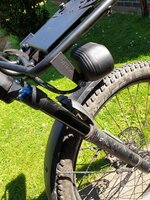
- You'll want to relocate your headlight to be under the cage but this is probably true for any bag or basket you put up front.
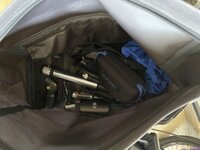
- No internal storage or dividers. There are two small zipper pockets accessible from the outside, big enough to hold the carry strap and maybe a small phone or a mini all in one tool kit or something.
- Rolling the top and snapping it down is frustrating as the velcro that goes over the snap interferes. You need to half snap it closed, pull on the velcro and then you can fully snap the fastener closed.
I'll keep using it for a bit and see how my use of it changes. Primarily I was looking at it as the carry bag for stuff that normally goes into a backpack. Toolkit, pump, tube, chain lock, etc. Will need some smaller organization bags to hold those items, keep them secure and from rattling around. Hope this helps others that have been looking at this bag as an option.