Nick S
New Member
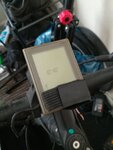
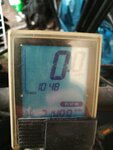
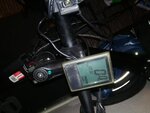
Per my other thread, I received the replacement display mount today. I'm planning to try to replace the mount myself.
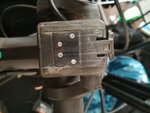
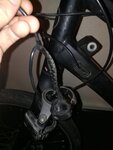
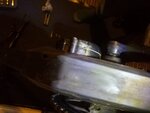
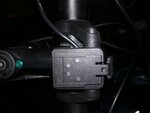
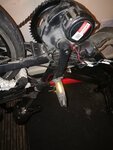
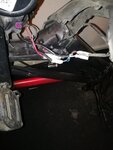
Has anyone else replaced the Yamaha display mount on one of these bikes, or a similar bike? If so, any tips on how to do so? Haibike support indicated that I will want to remove two of three motor mounting bolts and allow the motor to pivot out of the way to get access to where the display connection plugs into the motor / controller.
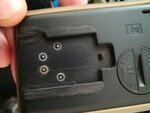
It'd be awesome to see a diagram of which bolts / parts to remove, as well as any tips people may have on how to thread the cable through the frame to handlebars. Seems like I could tape a strong line to the old display mount cable before threading it out of the frame, then tape the line to the new cable and pull it back the other direction to the motor.
Thanks in advance for any tips!
Has anyone else replaced the Yamaha display mount on one of these bikes, or a similar bike? If so, any tips on how to do so? Haibike support indicated that I will want to remove two of three motor mounting bolts and allow the motor to pivot out of the way to get access to where the display connection plugs into the motor / controller.
It'd be awesome to see a diagram of which bolts / parts to remove, as well as any tips people may have on how to thread the cable through the frame to handlebars. Seems like I could tape a strong line to the old display mount cable before threading it out of the frame, then tape the line to the new cable and pull it back the other direction to the motor.
Thanks in advance for any tips!


")