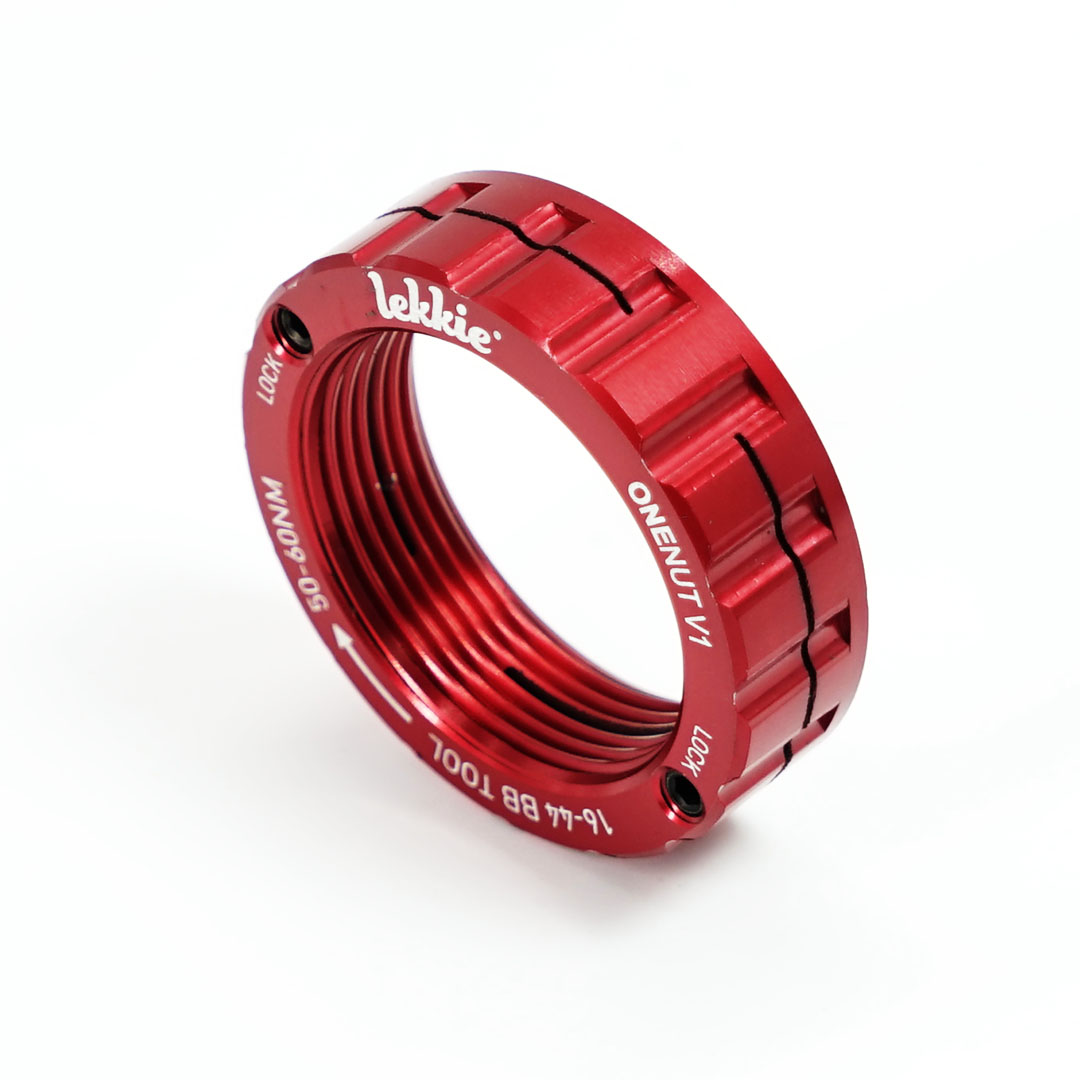
Oh something I forgot that might be a godsend for you. You're talking about a limit on your space for the 73mm bracket. Lekkie has developed a solution specific to your situation:
Lekkie ONENUT is a full CNC machined motor lock nut with a built in locking function that replaces both stock motor locking nuts. Is this compatible with your motor? Download the user guide here.

lekkie.tech
It just came out. I'm not going there as the double-nut solution works for $4. But if I had the space constraints you do, and they prevented me from double-nutting... this is what I'd do to solve it.