JimVonBaden
Member
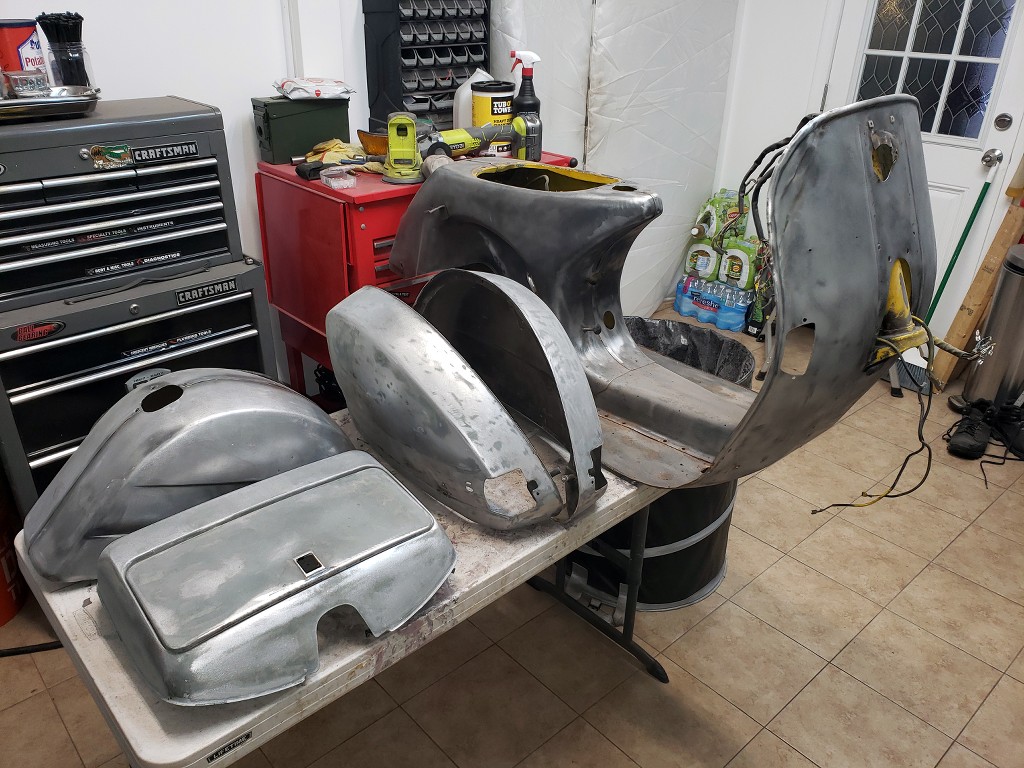
Not your typical ebike conversion here, but I thought it might interest some. Starting with a 1981 Vespa PX125, see photo and video:
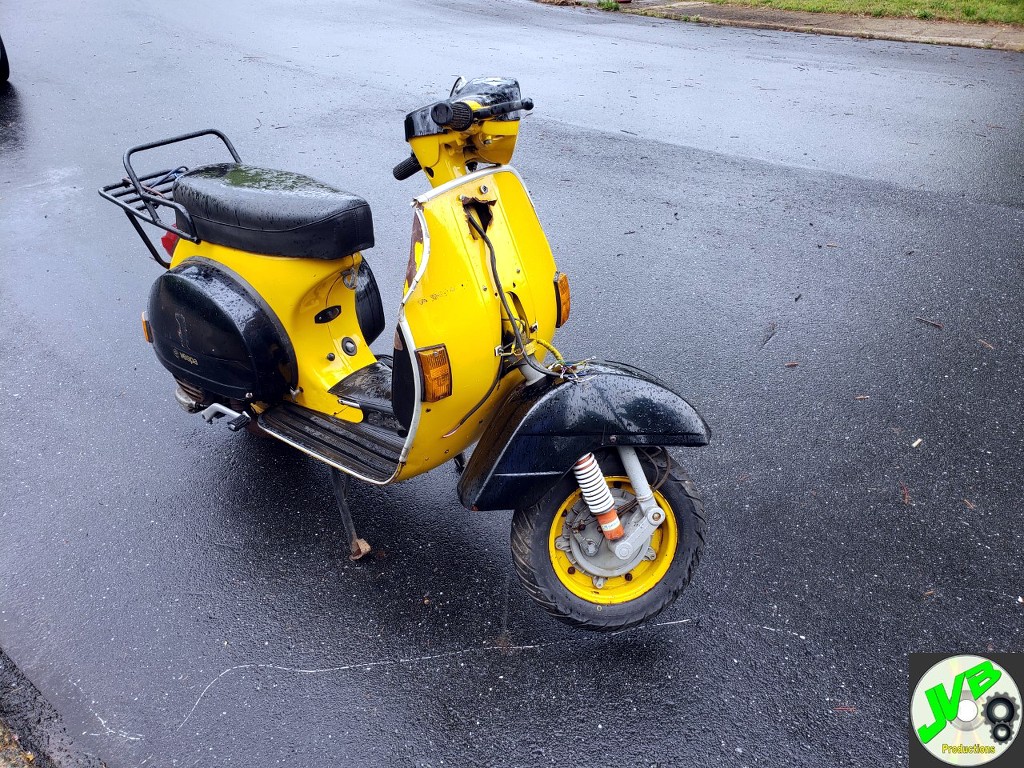
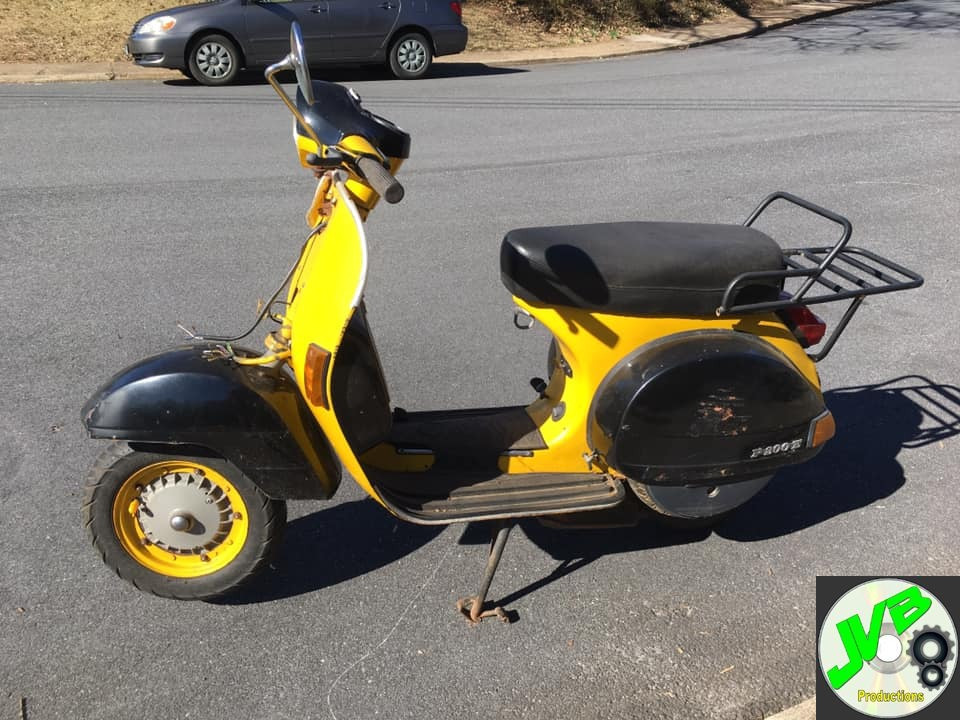

As you can see, it is not original enough to make a really nice restoration, though I originally planned to fit it up. Then I bought an ebike, and in studying mods and things I realized I have a perfect platform for conversion. I stripped it down to the bare chassis, and then stripped the paint and did the bodywork in prep for the conversion.

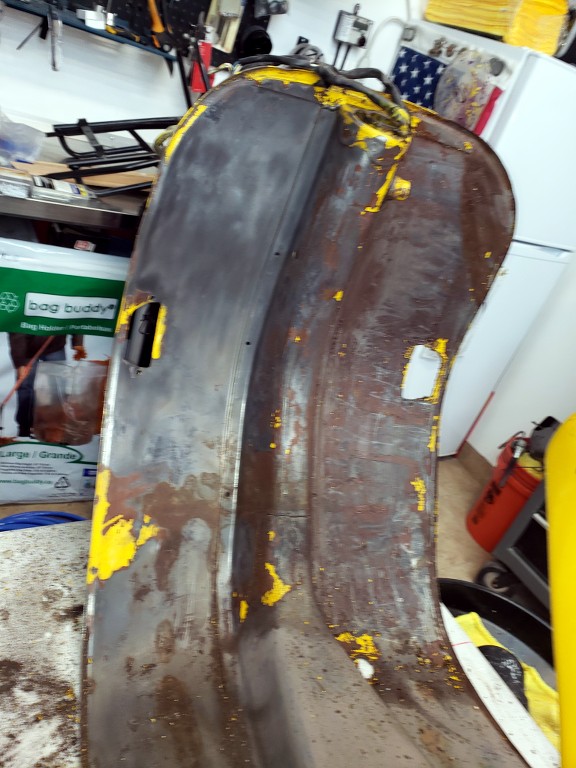
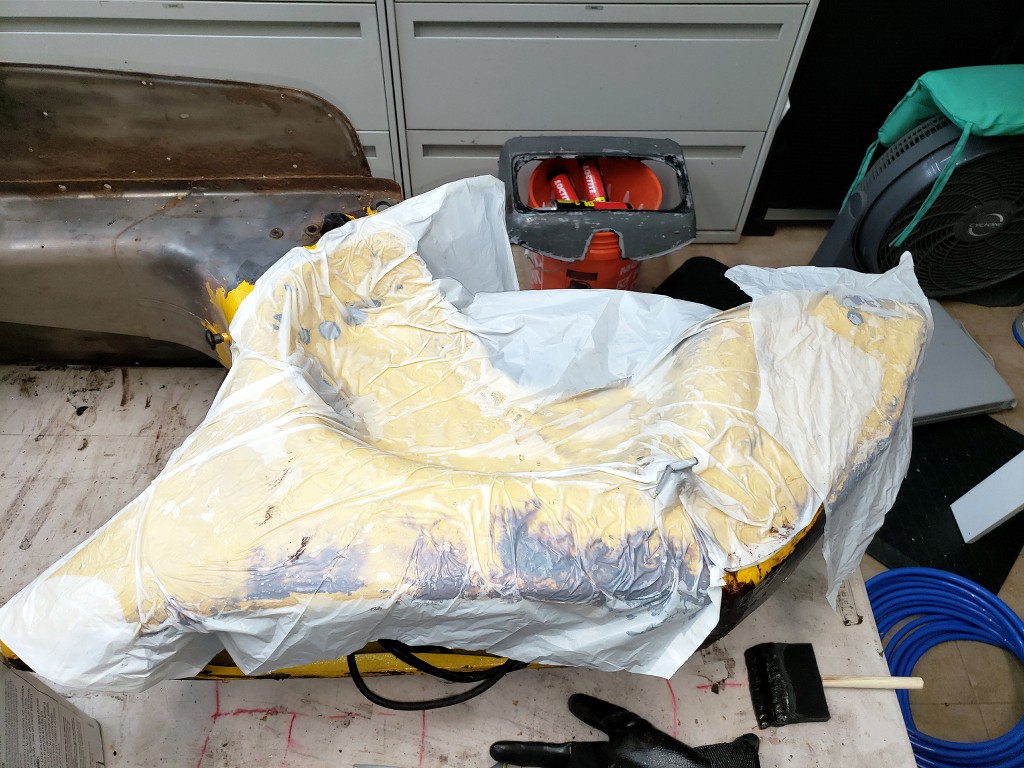
A little bodywork:

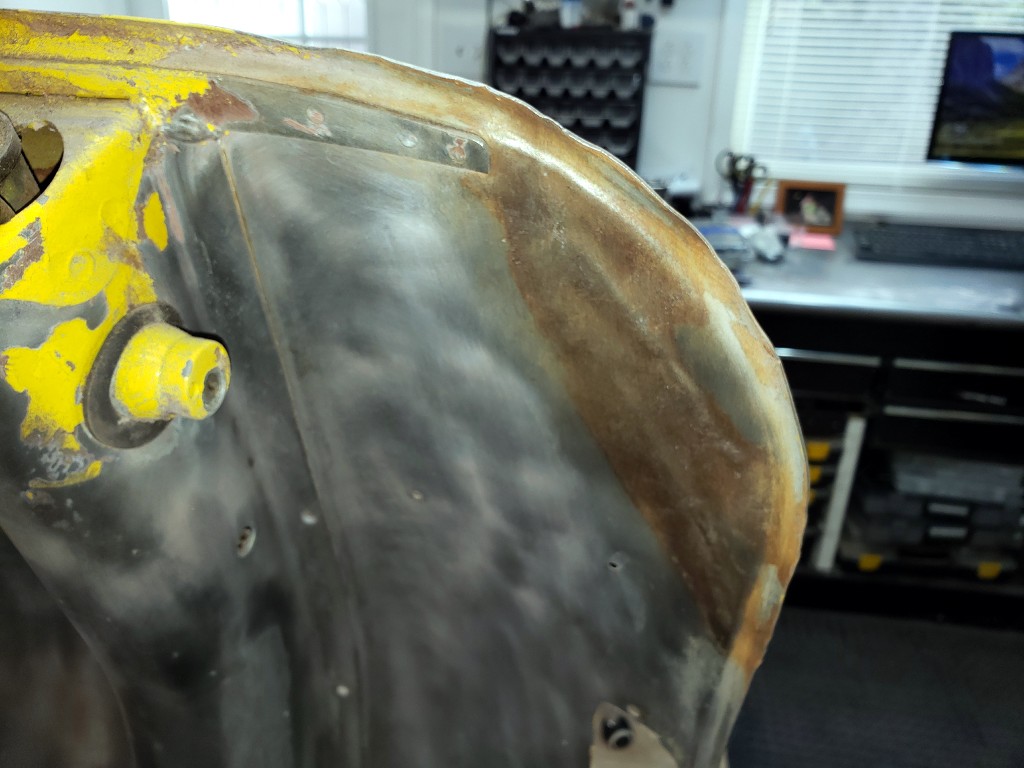
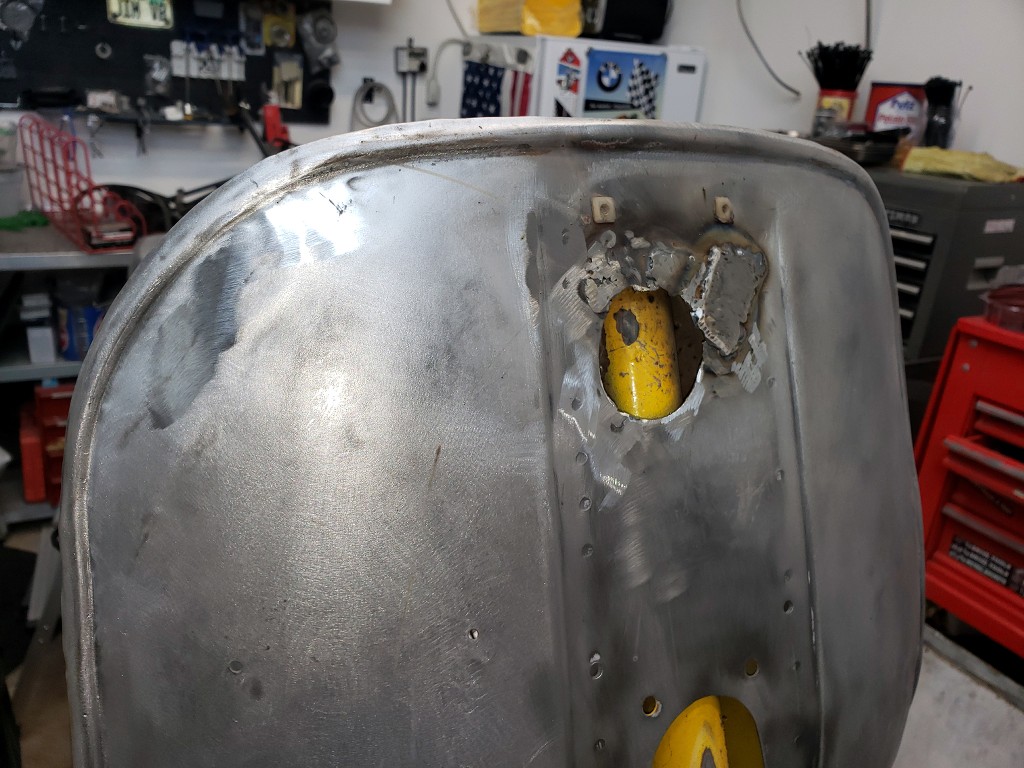


Paint will come after the final fab for the electric conversion.
Since the engine is the swingarm, I have to fab my own. After several mock-ups, this is what I have settled on:


I will weld it up after I receive the 4KW hub motor.
Speaking of parts, this is what I have ordered so far:
HWZ Series DC/DC Converter 96V to 12V
* ebike throttle
* Electric Motor QS Motor 10inch 205 4000W 72V 85km/h
* Brake kit
34ah 72V battery, custom made
Display, controller
J1 Cable
2*x CNL 500A Fuse
Emergency Contactor KEMG-125A 125A continuous
KBL/KEB J2 Cable
* Kelly Sine Wave Controller KLS7245H with IP66
While I wait for the slow boat, I will finish the bodywork and prep for paint, which will come after I finish the fabrication and install of the conversion.
As you can see, it is not original enough to make a really nice restoration, though I originally planned to fit it up. Then I bought an ebike, and in studying mods and things I realized I have a perfect platform for conversion. I stripped it down to the bare chassis, and then stripped the paint and did the bodywork in prep for the conversion.
A little bodywork:
Paint will come after the final fab for the electric conversion.
Since the engine is the swingarm, I have to fab my own. After several mock-ups, this is what I have settled on:
I will weld it up after I receive the 4KW hub motor.
Speaking of parts, this is what I have ordered so far:
HWZ Series DC/DC Converter 96V to 12V
* ebike throttle
* Electric Motor QS Motor 10inch 205 4000W 72V 85km/h
* Brake kit
34ah 72V battery, custom made
Display, controller
J1 Cable
2*x CNL 500A Fuse
Emergency Contactor KEMG-125A 125A continuous
KBL/KEB J2 Cable
* Kelly Sine Wave Controller KLS7245H with IP66
While I wait for the slow boat, I will finish the bodywork and prep for paint, which will come after I finish the fabrication and install of the conversion.


